Using the Visual Studio Code Extension
You can use the VS Code extension to easily create, build, deploy, and monitor Projects. The extension can be connected to a local AutoKitteh server on your PC or a remote server.
Installing the AutoKitteh extension is simple: Look for the autokitteh extension in the extensions list and install
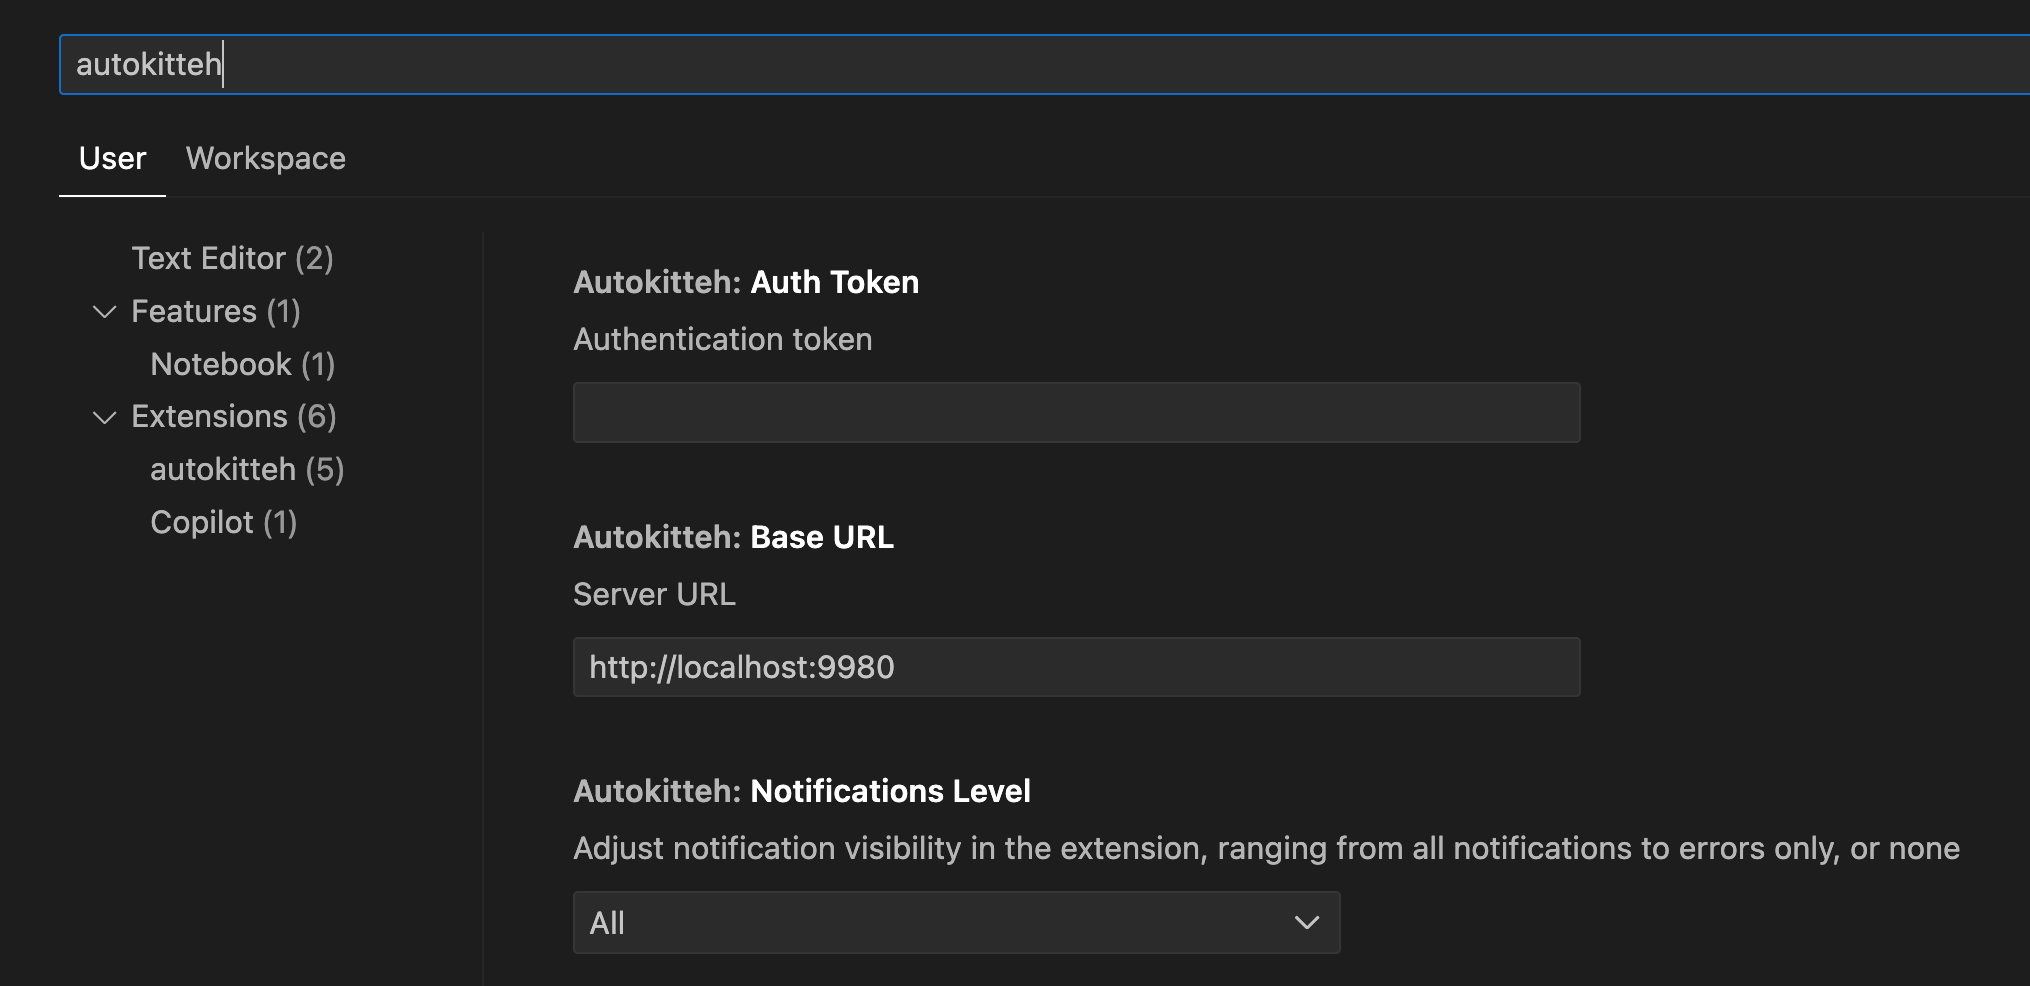
By default, the extension connects to an AutoKitteh server on the local machine. To modify this, go to settings, and look for autokitteh. You can set the Server URL, and provide an Authentication Token if needed.
Project Setup
Open VS Code in the project directory. The project directory must contain at least the manifest file (*.yaml) and the code for the workflow. In this example, we will use Python.
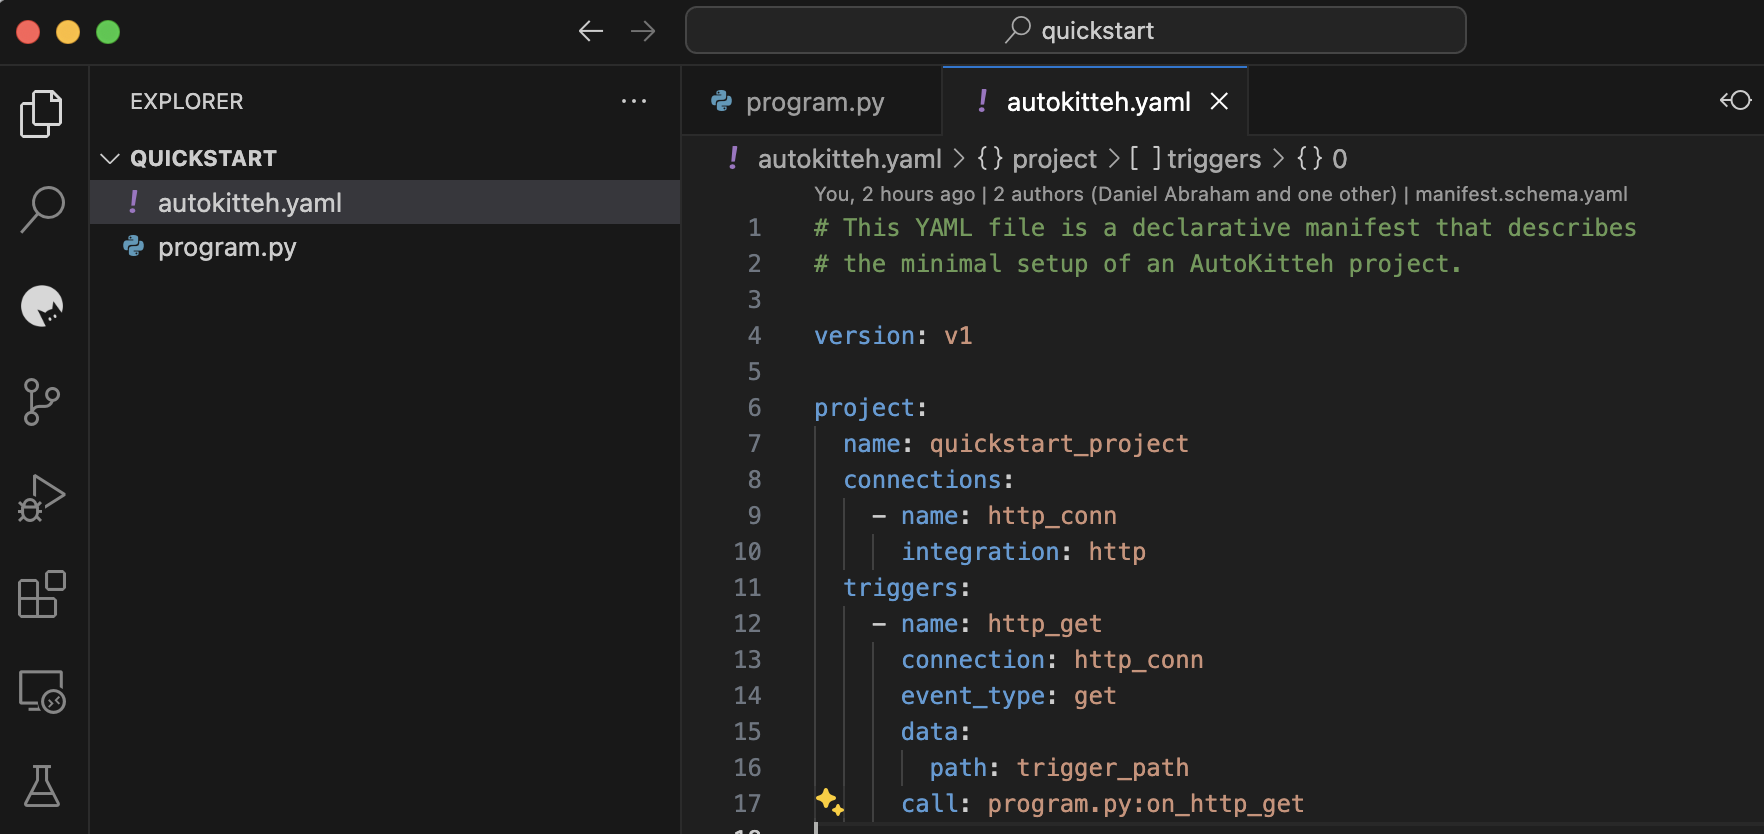
All project resources should be in the project directory. The total size of the files that can be uploaded to the project is limited to 1 MB.
To set up the project and create all its components defined in the manifest file, you need to apply manifest:
While in the context of the manifest file (in this example autokitteh.yaml, in the command line do: >autokitte: Apply Manifest
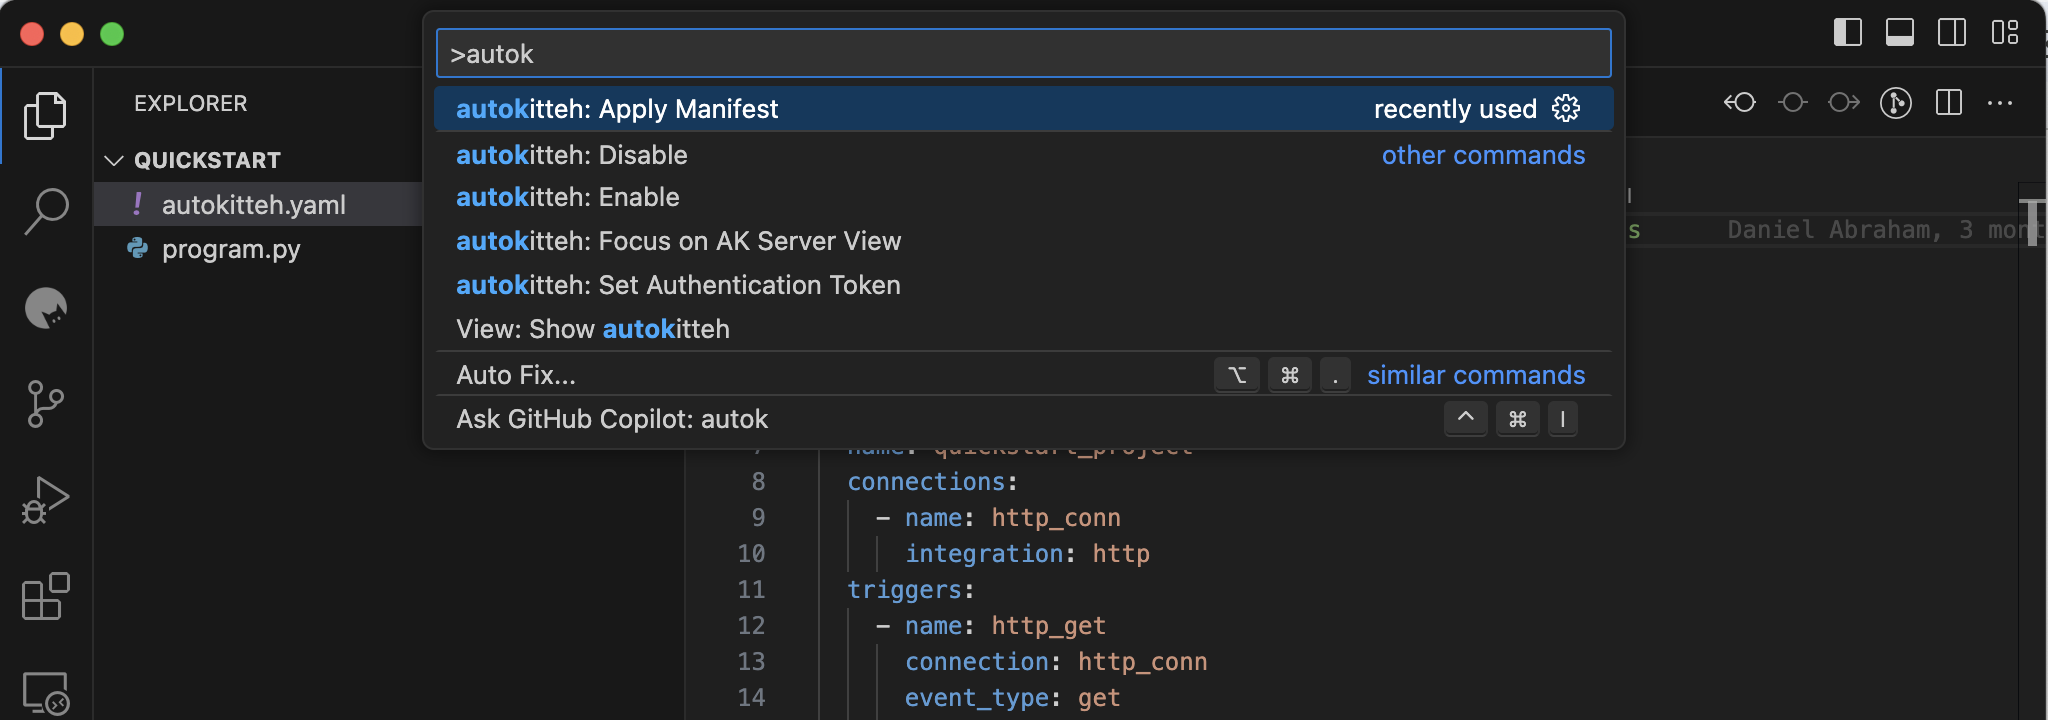
The results of the command appear in the output pane.

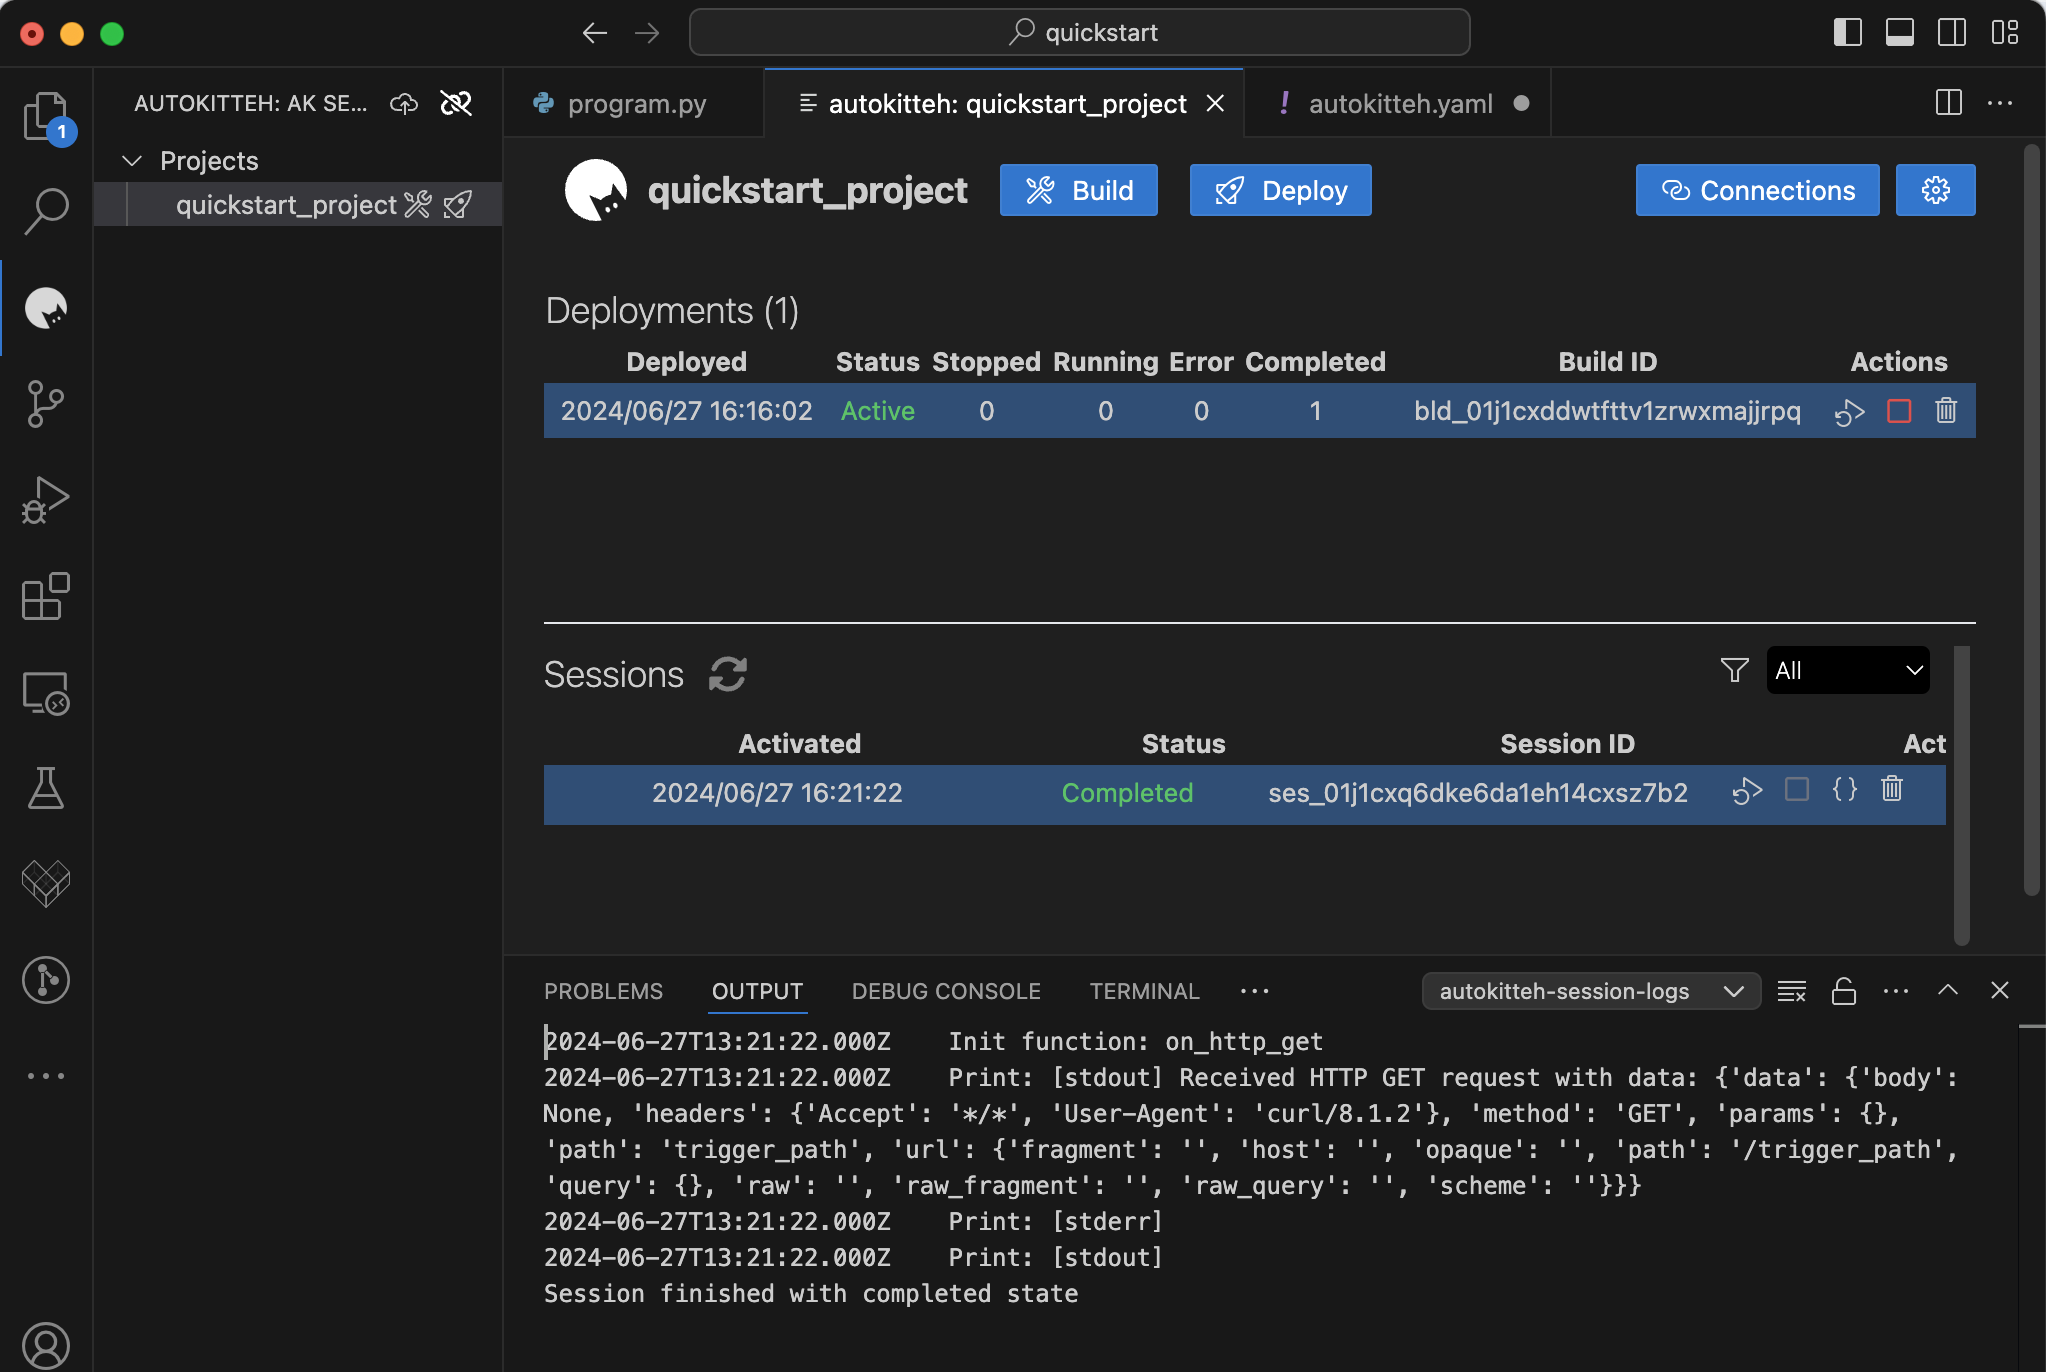
If all works, a project will be created and appear in the AutoKitteh pane on the left. In this case auickstart_project
Clicking on the project name will open the project management window where you can view and perform actions on Deployments and sessions, and view session logs.
To Build and deploy, click on the Build and/or Deploy buttons.
Clicking on the Deploy button will Build and deploy the project. Build can be used to validate the code before deployment (Like compiling code).

To trigger the workflow in this example, do:
curl -X GET http://localhost:9980/http/quickstart/trigger_path
The Deployments table shows the list of deployments and a summary of the session’s status. Choosing one of the deployments will open the list of sessions. Choosing a session will open the session's log in the output pane.
You can Stop, delete, and rerun sessions. You can Delete deployments only if there are no running sessions. You can delete a project if there are no active deployments.
Click on connections to manage connections and connect to applications.
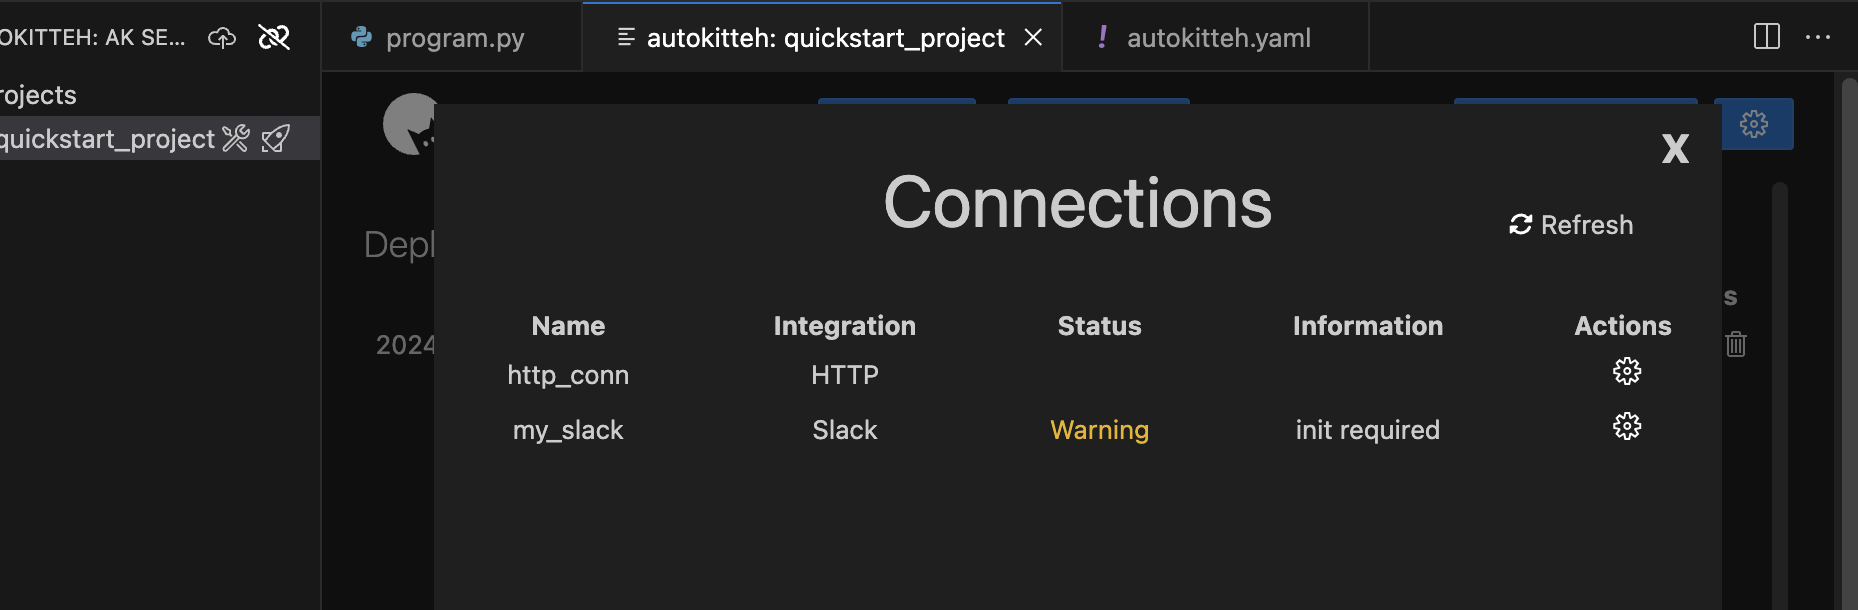
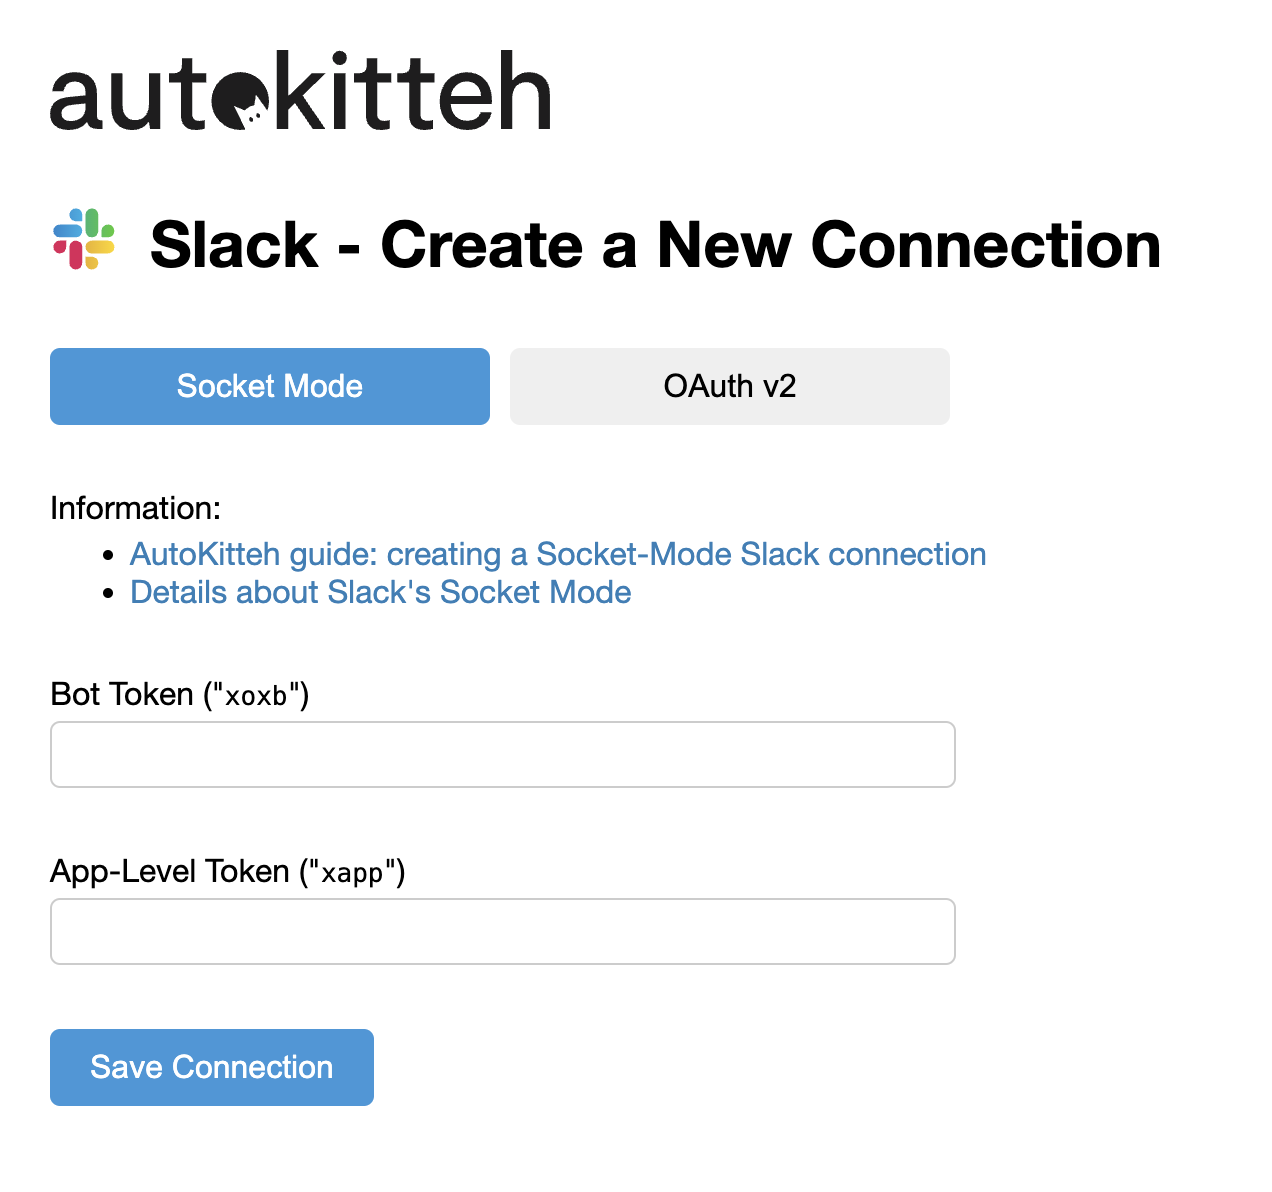
Clicking on the connection Actions will open the connection configuration page.
Execute the Project
To trigger the project in this example, do:
curl -X GET http://localhost:9980/http/quickstart/trigger_path
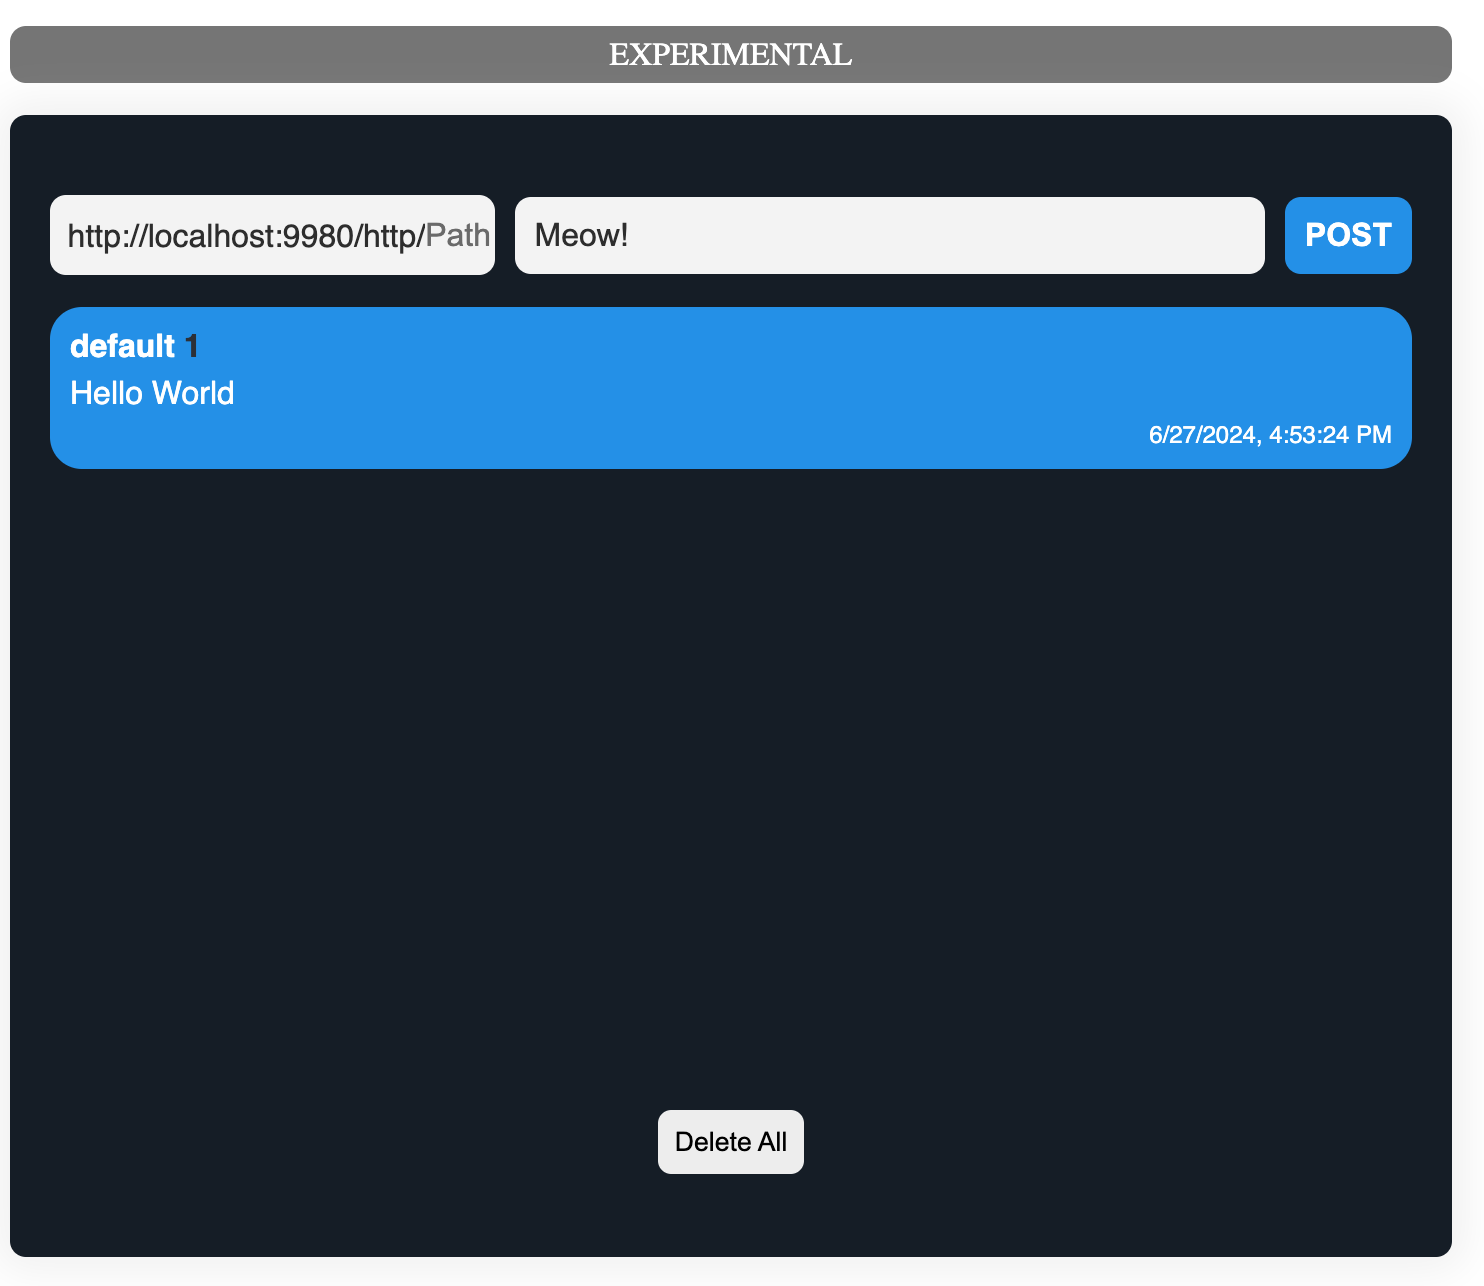
You can see in the deployments list that a session was created. To see the results of this simple project, see the build-in test UI in Autokitteh in URL: http://localhost:9980/webtools/msgs/default/
Modifying a Workflow
Let’s add functionality to the workflow to send an HTTP request to AutoKitteh’s internal UI.
Any change to configuration setting in the manifest requires reapplying the manifest. Changes in the code of the workflow only require building and deploying it.
import requests
import time

NOTIFICATION_URL = "http://localhost:9980/webtools/api/msgs"

def on_http_get(data):
    print(f"Received HTTP GET request with data: {data}")
    for i in range(10):
        requests.post(NOTIFICATION_URL, f"Hello World : {i}")
        time.sleep(3)

    print("Finished processing request")
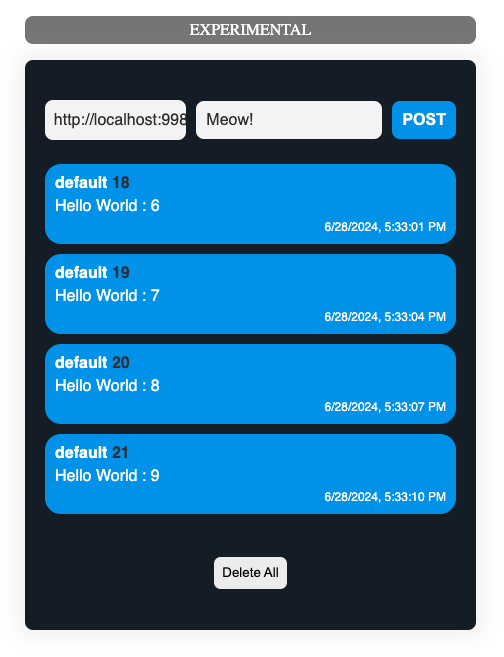
Deploy the project. Open a browser: http://localhost:9980/webtools/msgs/default/ Trigger the project:
curl -X GET http://localhost:9980/http/quickstart/trigger_path
This should be the result:
Validate AutoKitteh's Durability
While the project is running, you can close the ak server (Kill the process) and restart it. The workflow will continue from the spot it was stopped.