Configuration
Follow this guide in order to enable AutoKitteh's Slack connections to use a Slack app with OAuth v2, instead of connection-specific Slack apps in Socket Mode.
This guide assumes that the AutoKitteh server is already configured with HTTP tunneling.
Background information: installing Slack apps with OAuth.
Create a Slack App
-
Click here: create a new Slack app
-
Select the option "From an app manifest"
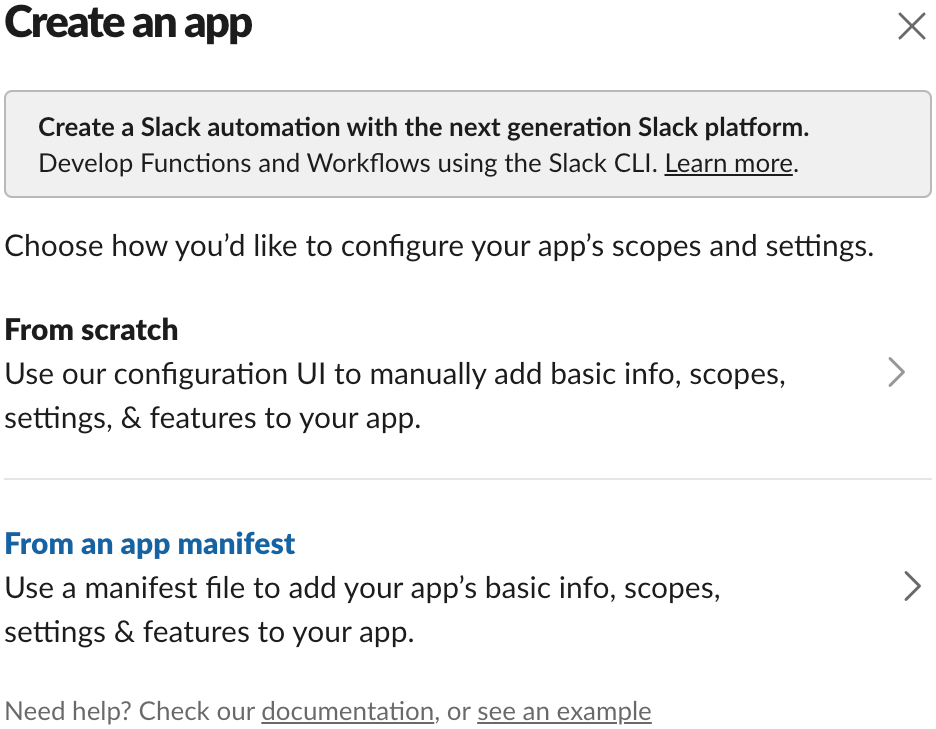
-
Pick a workspace to develop the app in, and click the green "Next" button
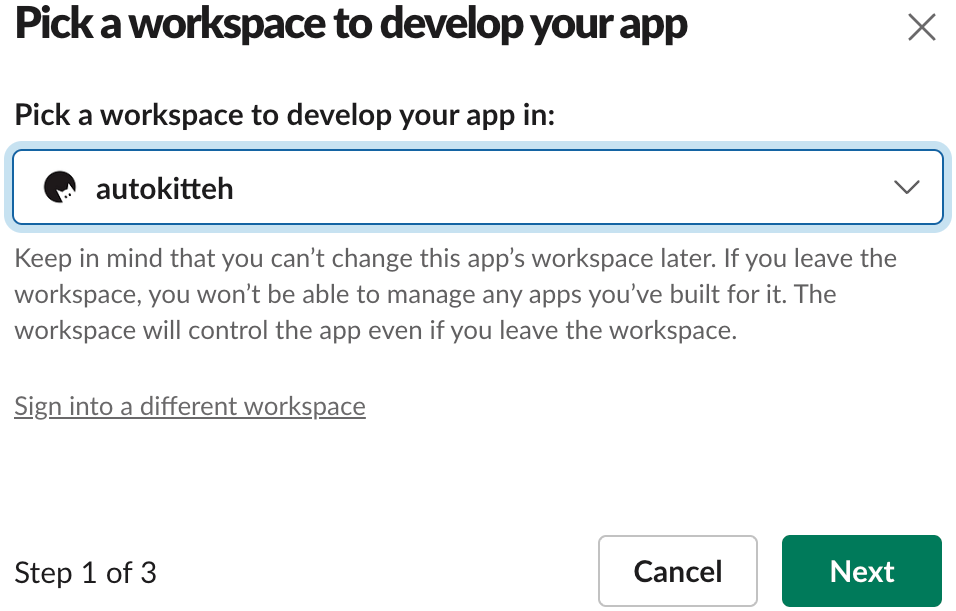
-
Switch from JSON to YAML
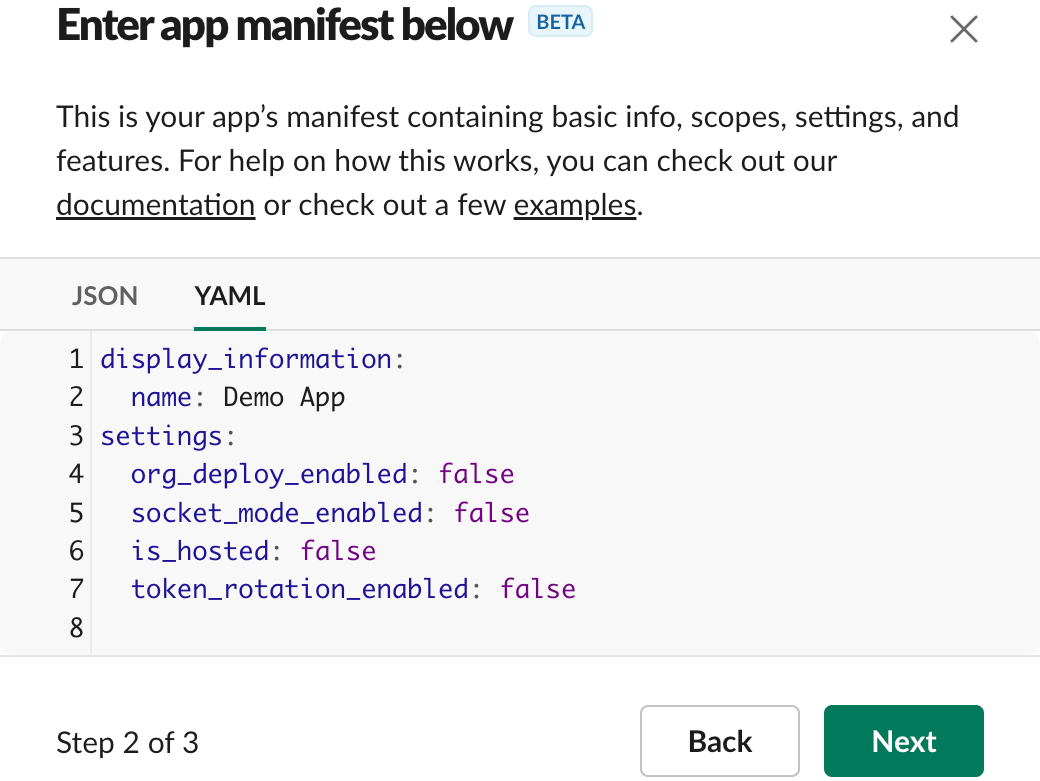
-
Replace the default app manifest YAML with this:
display_information:
  name: AutoKitteh Demo App

features:
  bot_user:
    display_name: AutoKitteh
    always_online: true
  slash_commands:
    - command: /COMMAND-NAME
      url: https://PUBLIC-AK-ADDRESS/slack/command
      description: Send command to AutoKitteh
      should_escape: true

oauth_config:
  redirect_urls:
    - https://PUBLIC-AK-ADDRESS/oauth/redirect/slack
  scopes:
    bot:
      - app_mentions:read
      - bookmarks:read
      - bookmarks:write
      - channels:history
      - channels:manage
      - channels:read
      - chat:write
      - chat:write.customize
      - chat:write.public
      - commands
      - dnd:read
      - groups:history
      - groups:read
      - groups:write
      - im:history
      - im:read
      - im:write
      - mpim:history
      - mpim:read
      - mpim:write
      - reactions:read
      - reactions:write
      - usergroups:read
      - usergroups:write
      - users.profile:read
      - users:read
      - users:read.email

settings:
  event_subscriptions:
    request_url: https://PUBLIC-AK-ADDRESS/slack/event
    bot_events:
      - app_home_opened
      - app_mention
      - app_uninstalled
      - channel_archive
      - channel_created
      - channel_deleted
      - channel_id_changed
      - channel_left
      - channel_rename
      - channel_shared
      - channel_unarchive
      - channel_unshared
      - group_archive
      - group_deleted
      - group_left
      - group_rename
      - group_unarchive
      - member_joined_channel
      - member_left_channel
      - message.channels
      - message.groups
      - message.im
      - message.mpim
      - reaction_added
      - reaction_removed
      - tokens_revoked

  interactivity:
    is_enabled: true
    request_url: https://PUBLIC-AK-ADDRESS/slack/interaction
  org_deploy_enabled: false
  socket_mode_enabled: false
  token_rotation_enabled: false
-
You must replace all the instances of the string
PUBLIC-AK-ADDRESSwithin the YAML app manifest with the AutoKitteh server's public tunnel address:features.slash_commands[].urloauth_config.redirect_urlsettingsevent_subscriptions.request_urlinteractivity.request_url
-
You must also replace the string
COMMAND-NAMEwithin the YAML app manifest with the app's slash command name; you may also add more commandswarningSlash command names must be unique within a Slack workspace, do not install more than one Slack app with the same slash command name!
This is because Slack sends slash command events only to the last-installed app which declared that slash command, not all of them.
-
You may also edit these details within the YAML app manifest:
display_information.namefeaturesbot_user.display_nameslash_commands- add/edit/remove commands according to your preferences
oauth_config.scopes.bot- remove any scopes (i.e. permissions) that you don't want AutoKitteh to have- Warning: don't remove the scope users:read, AutoKitteh requires it to determine Slack app IDs by calling the API method bots.info
settings.event_subscriptions.bot_events- add/remove bot events according to your preferences
-
Click the green "Next" button
-
Click the green "Create" button
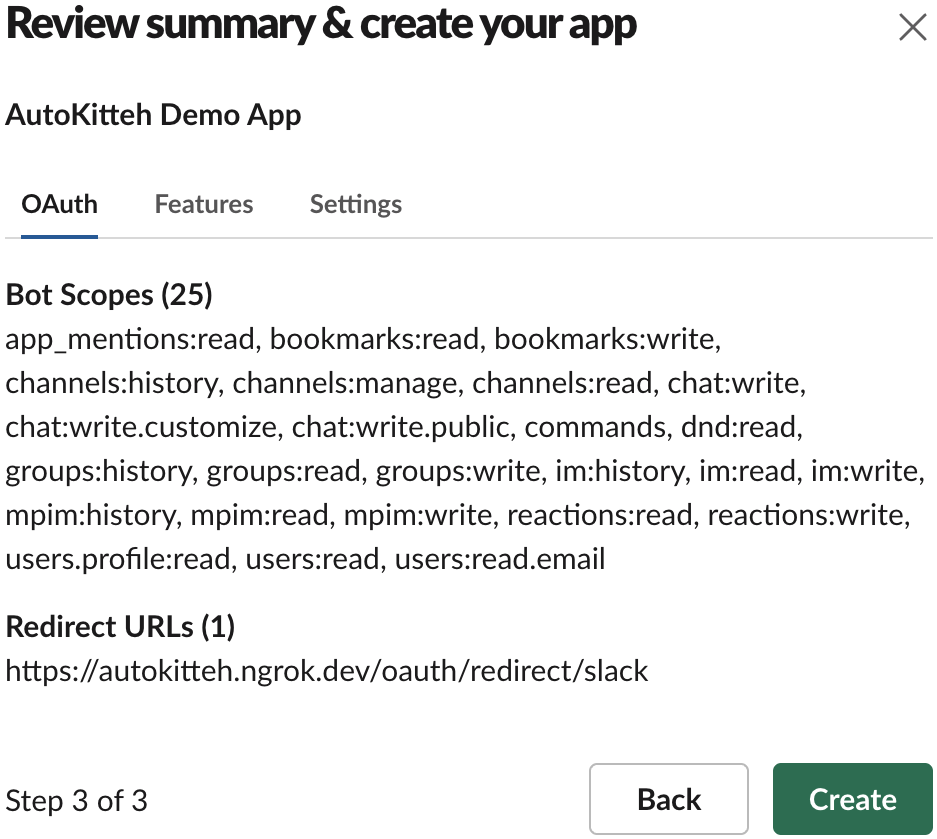
Install the Slack App
-
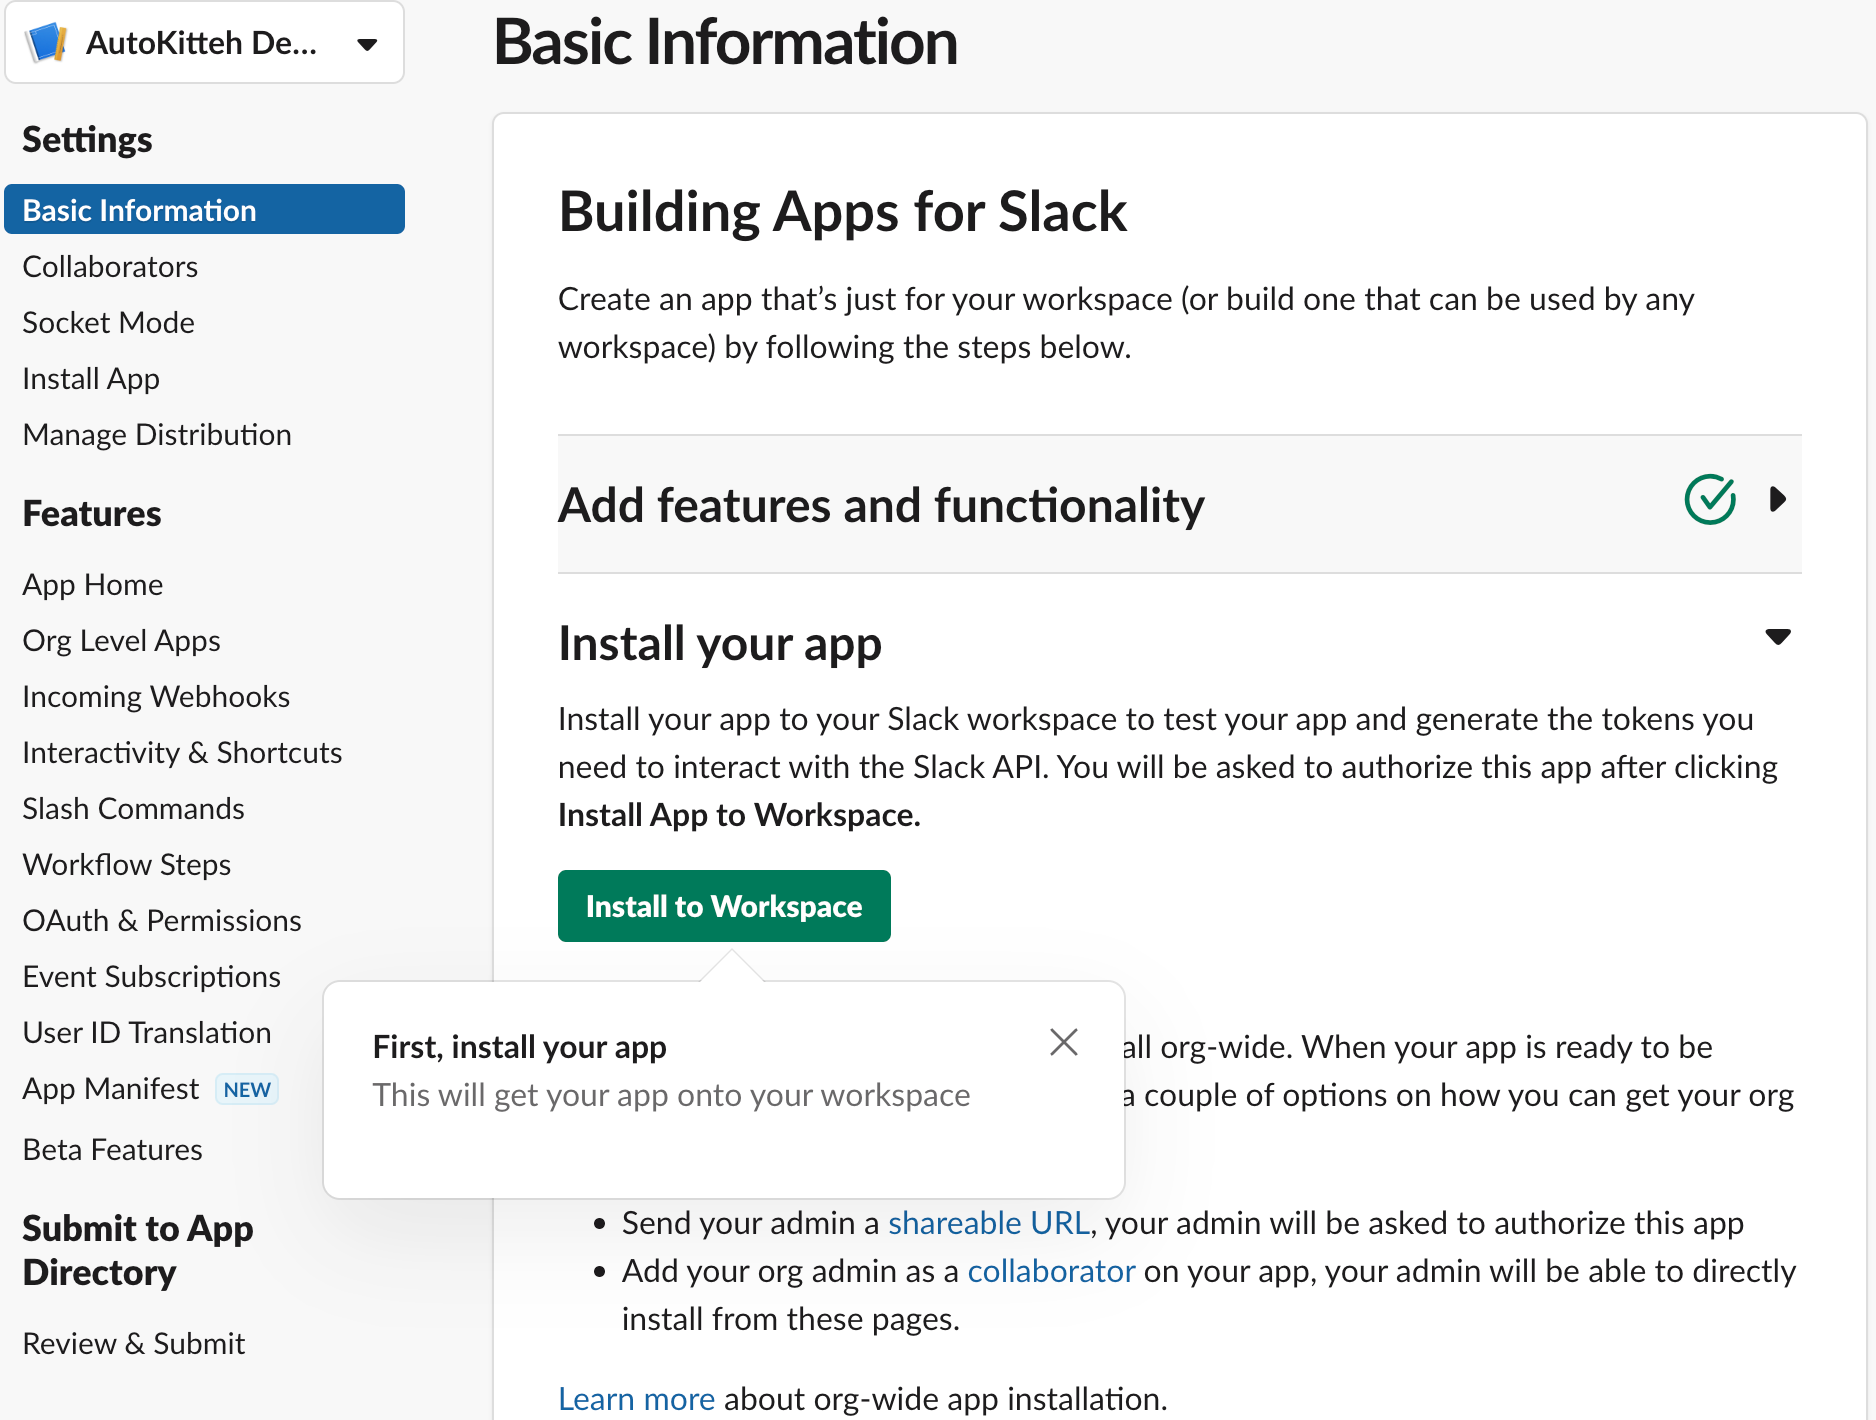
Click the green "Install to Workspace" button
-
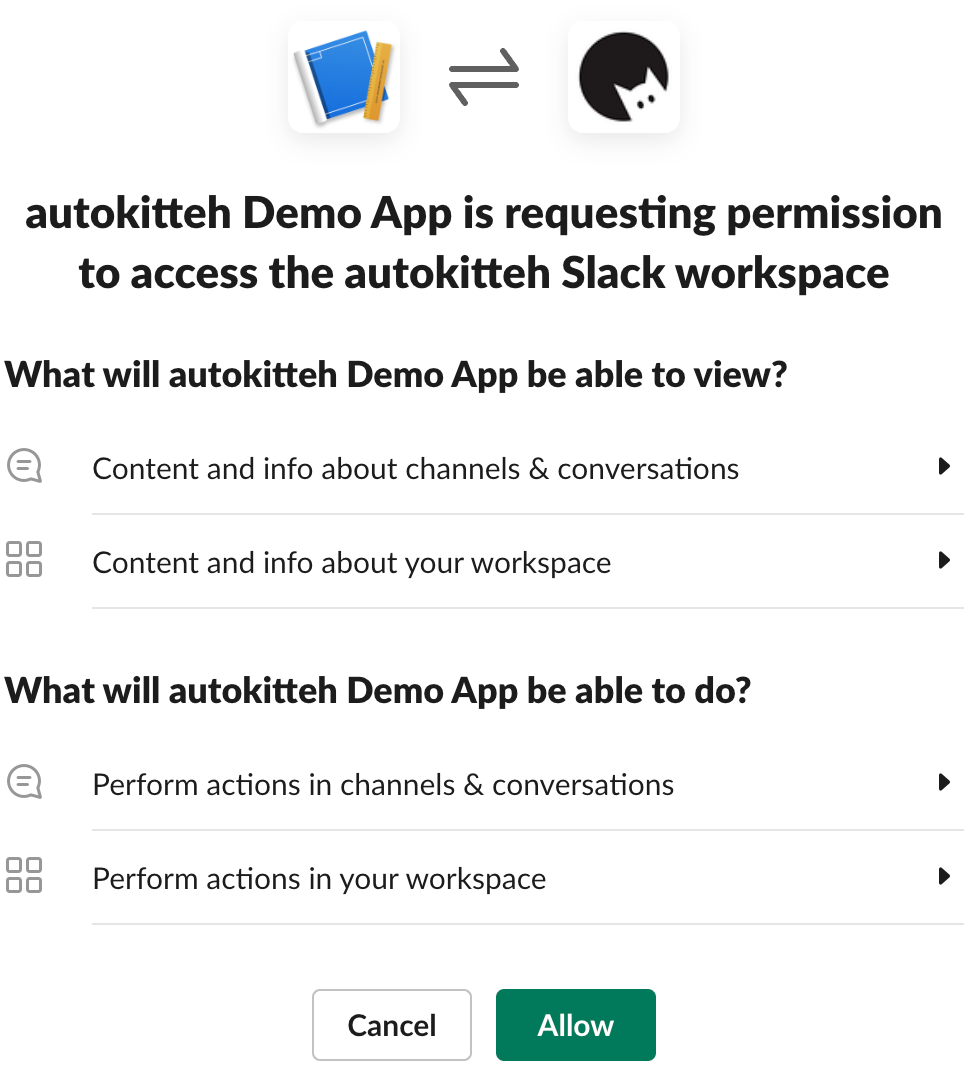
Click the green "Allow" button
Post-Creation Settings
-
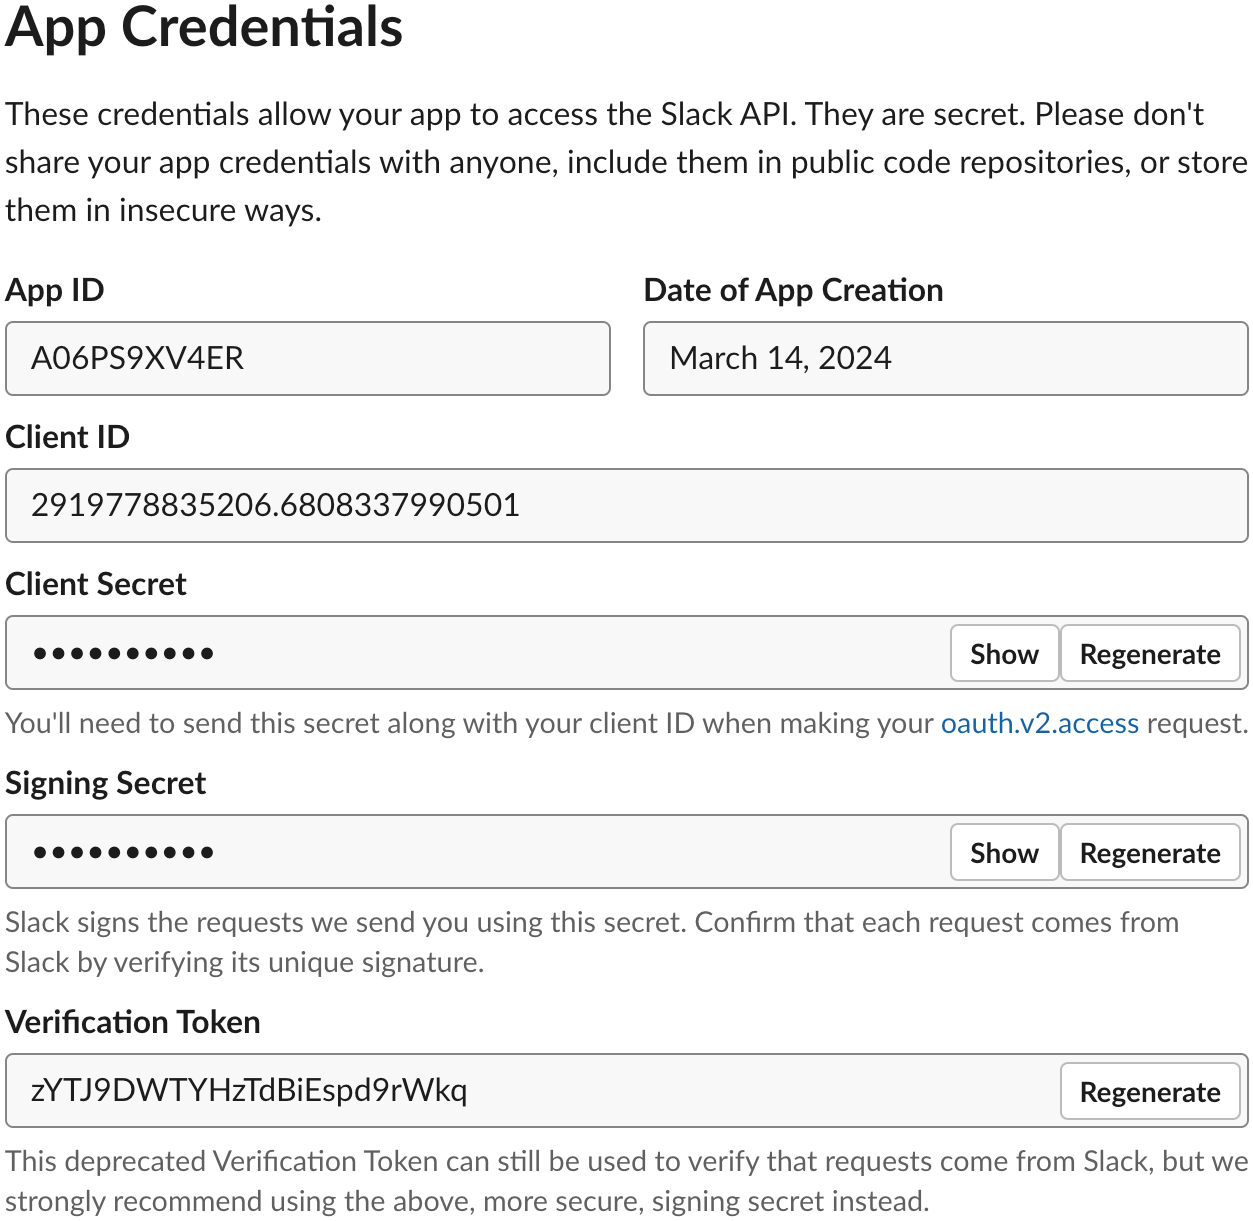
In the app's "Basic Information" page, scroll down to the "App Credentials" section
-
Make a note of the following details for later:
- Client ID
- Client Secret (click the "Show" button next to it)
- Signing Secret (click the "Show" button next to it)
-
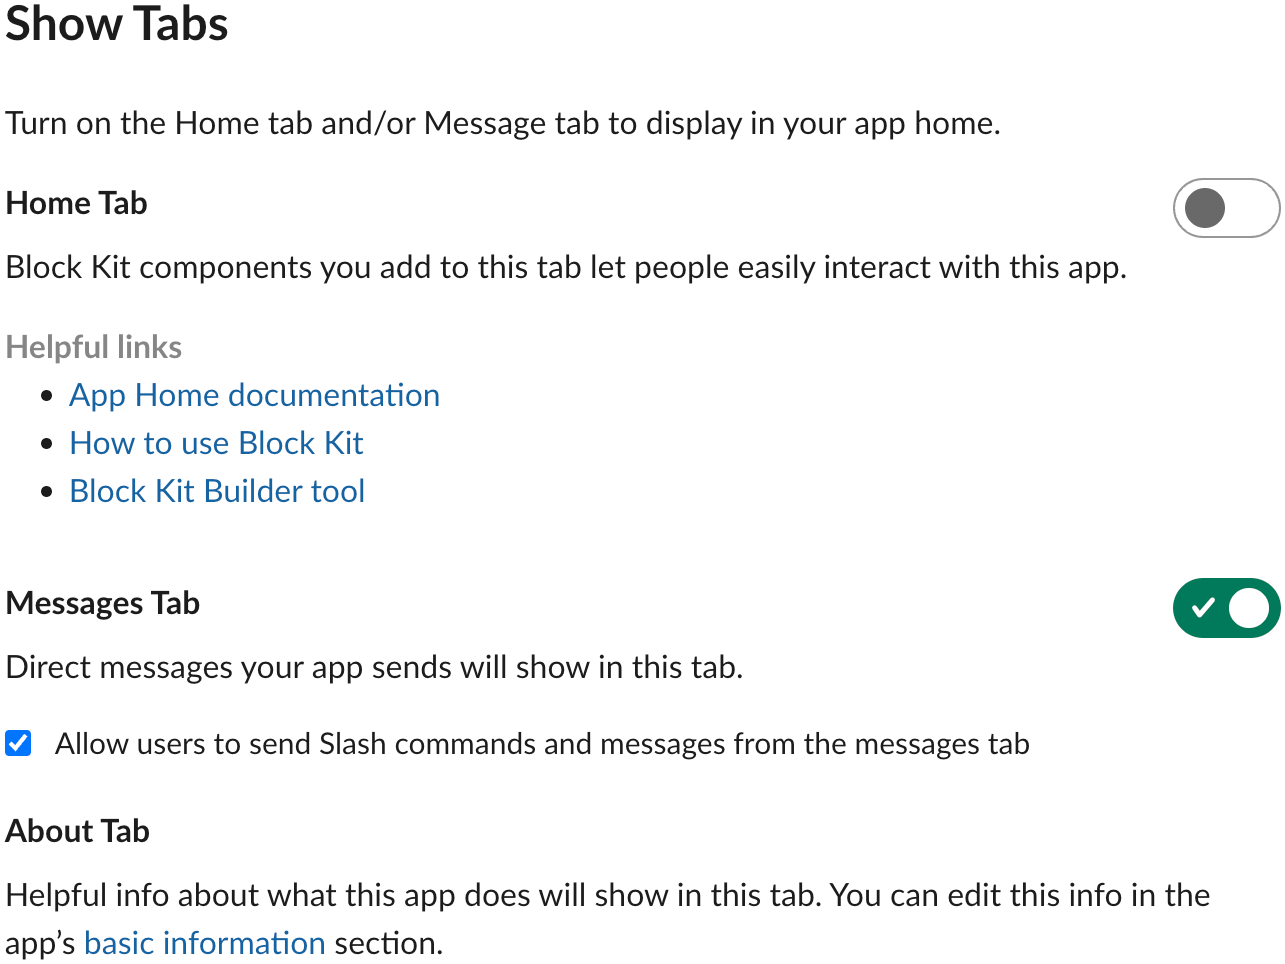
Click "App Home" under "Features" in the left panel

-
Scroll down the page to the "Show Tabs" section, and check the checkbox "Allow users to send Slash commands and messages from the messages tab"
If you created the app when the AutoKitteh server wasn't up, you may need to go to the Slack app's "Event Subscriptions" page and retry validating the webhook URL (while the AutoKitteh server is up and ready to respond to URL verification requests from Slack).
Configure AutoKitteh
There are two equivalent options to configure the AutoKitteh server to interact with your Slack app - choose the one most suited for your needs and constraints.
For more details, see the Configuration Methods page.
config.yaml File
Stay tuned!
Environment variables
Set this environment variable, based on the AutoKitteh server's public tunnel address:
WEBHOOK_ADDRESS- Just the address, without the
https://prefix, and without a path suffix
- Just the address, without the
Also set these environment variables, based on the values you were instructed to copy in the Post-Creation Settings section above, in step 2:
SLACK_CLIENT_IDSLACK_CLIENT_SECRETSLACK_SIGNING_SECRET
Lastly, restart the AutoKitteh server for these settings to take effect.