Configuration
Follow this guide in order to enable AutoKitteh's Atlassian connections to use an OAuth 2.0 (3LO) app, instead of API tokens and PATs.
This guide assumes that the AutoKitteh server is already configured with HTTP tunneling.
Background information: Atlassian OAuth 2.0 (3LO) apps.
Create an Atlassian OAuth 2.0 App
-
Click here: Atlassian developer console
-
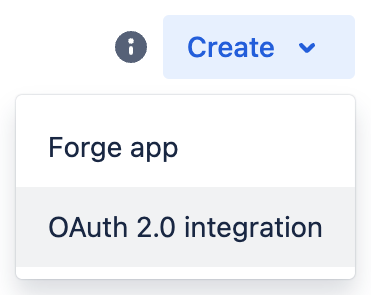
Click on the "Create" drop-down menu on the right, and select "OAuth 2.0 integration"
-
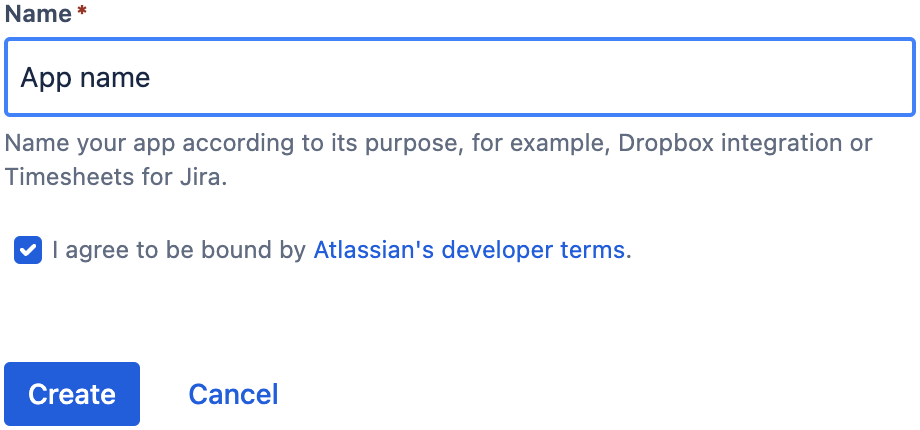
Name you app, agree to the developer terms, and click the "Create" button
-
Select the "Permissions" page in the left panel

-
Click the "Add" action button for the "User identity API"

-
Click the "Configure" action button for the "User identity API"
-
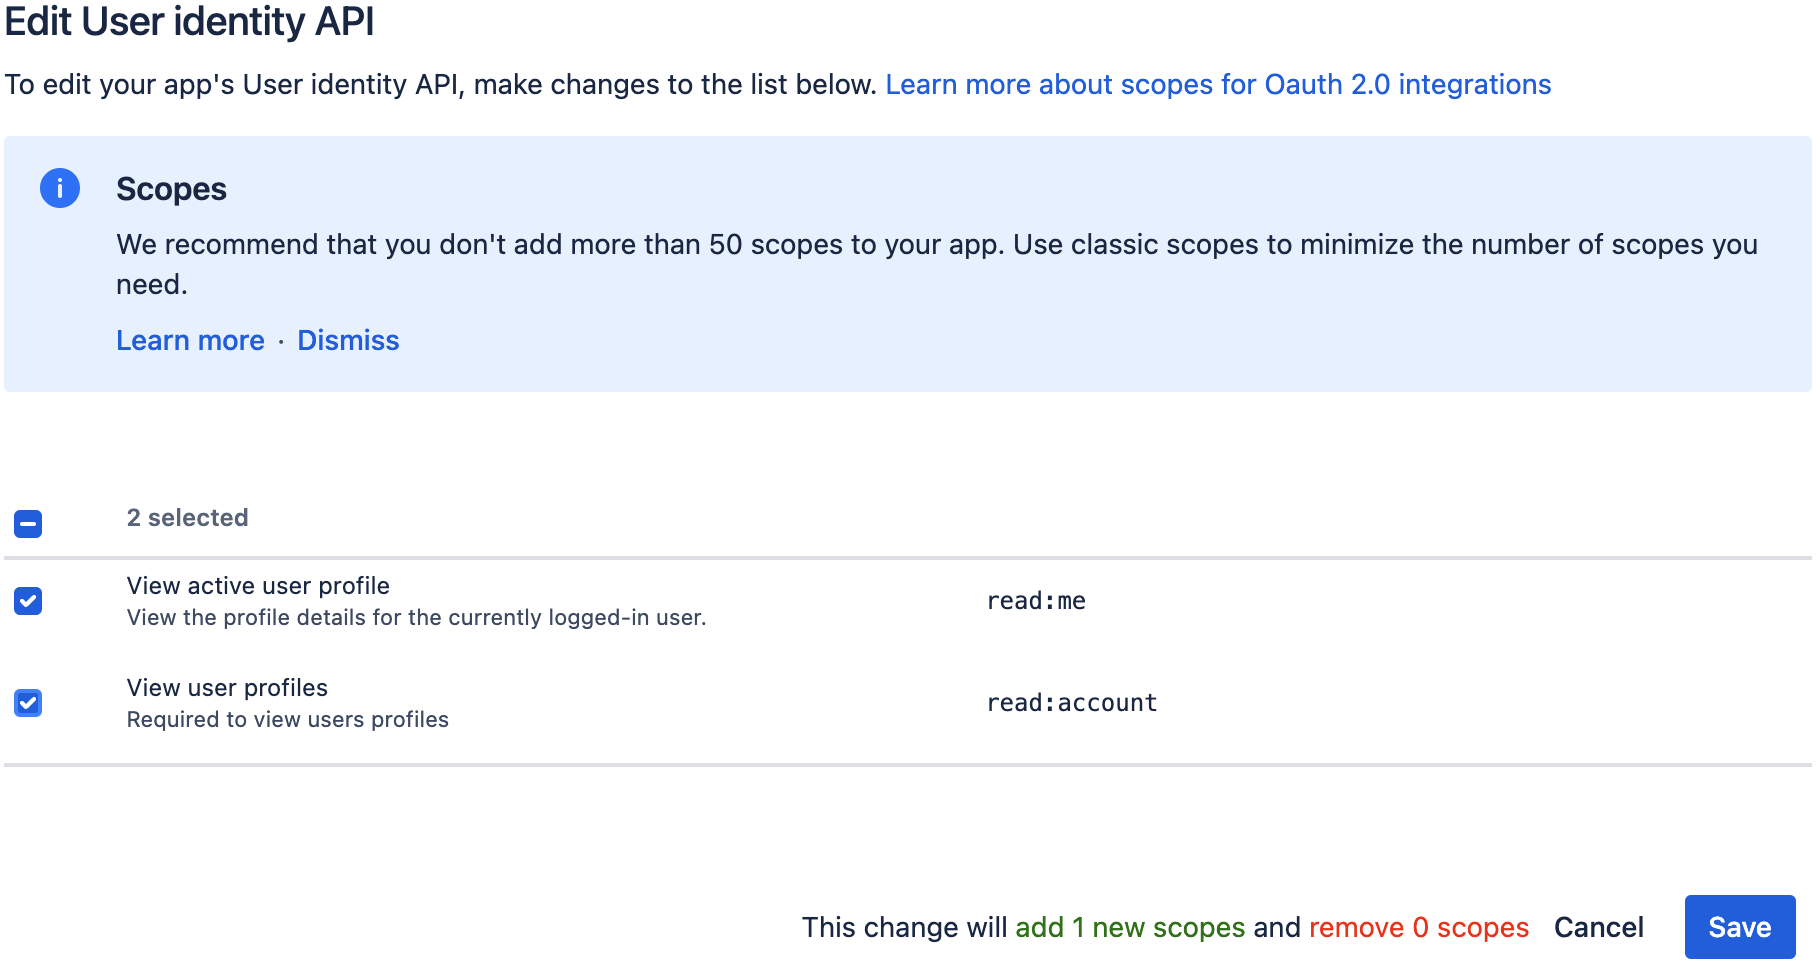
Click the "Edit Scopes" button

-
Add this scope, and click the "Save" button:
- View user profiles (
read:account)
- View user profiles (
-
-
Select the "Permissions" page in the left panel again
-
Click the "Add" action button for "Jira API" or "Confluence API"
-
Click the "Configure" action button for that row
-
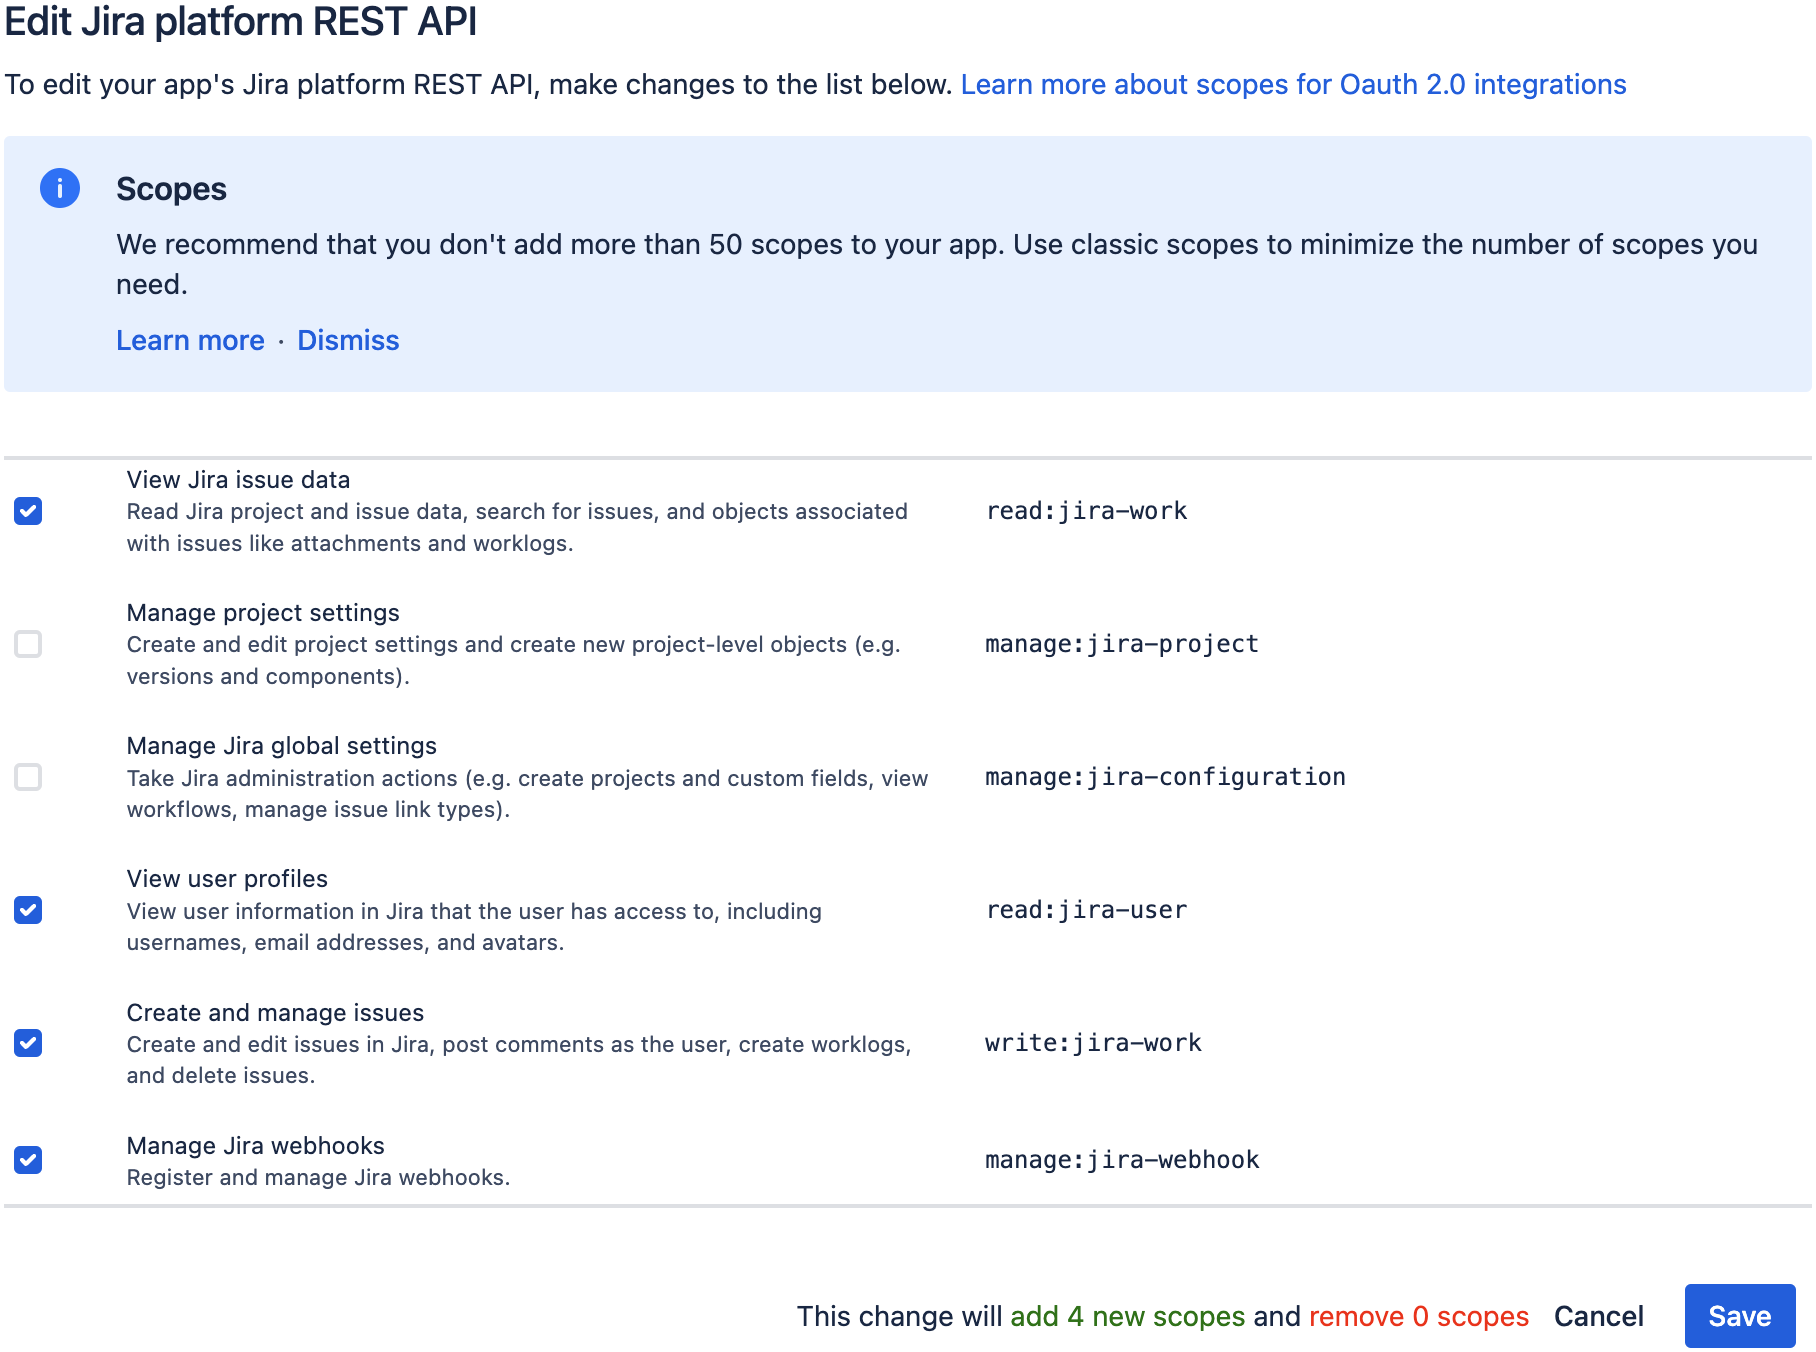
Click the "Edit Scopes" button
-
Select at least these scopes, and click the "Save" button:
- View Jira issue data (
read:jira-work) - View user profiles (
read:jira-user) - Create and manage issues (
write:jira-work) - Manage Jira webhooks (
manage:jira-webhook) - ...or...
- All the Confluence scopes you're interested in
- View Jira issue data (
-
-
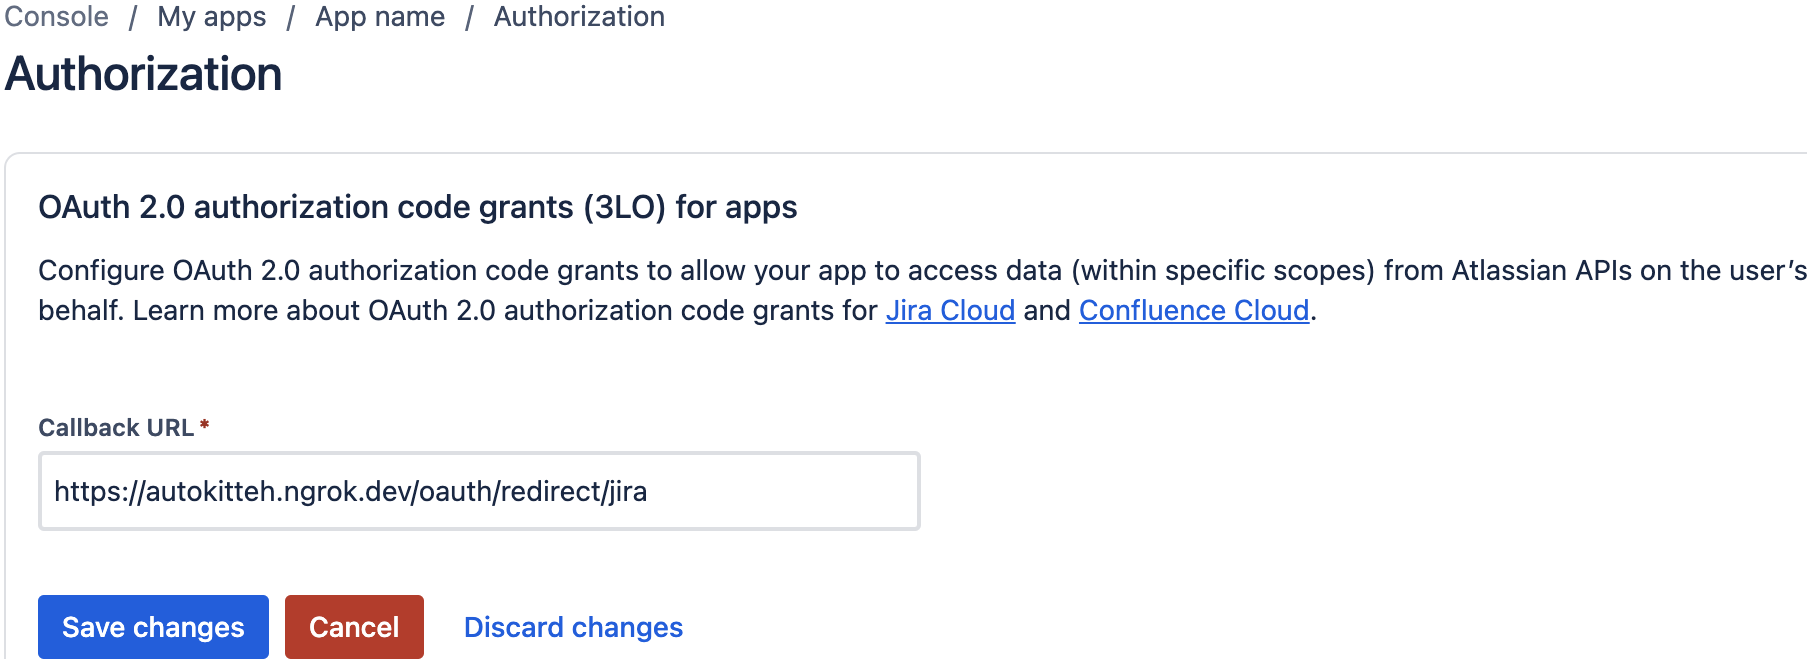
Select the "Authorization" page in the left panel
-
Click the "Add" action button
-
Enter this callback URL:
https://PUBLIC-AK-ADDRESS/oauth/redirect/jiraor.../confluence(where
PUBLIC-AK-ADDRESSis the AutoKitteh server's public tunnel address) -
Click the "Save Changes" button
-
App Secrets
-
Select the "Settings" page in the left panel
-
Copy the
Client IDandSecretin the "Authentication details" section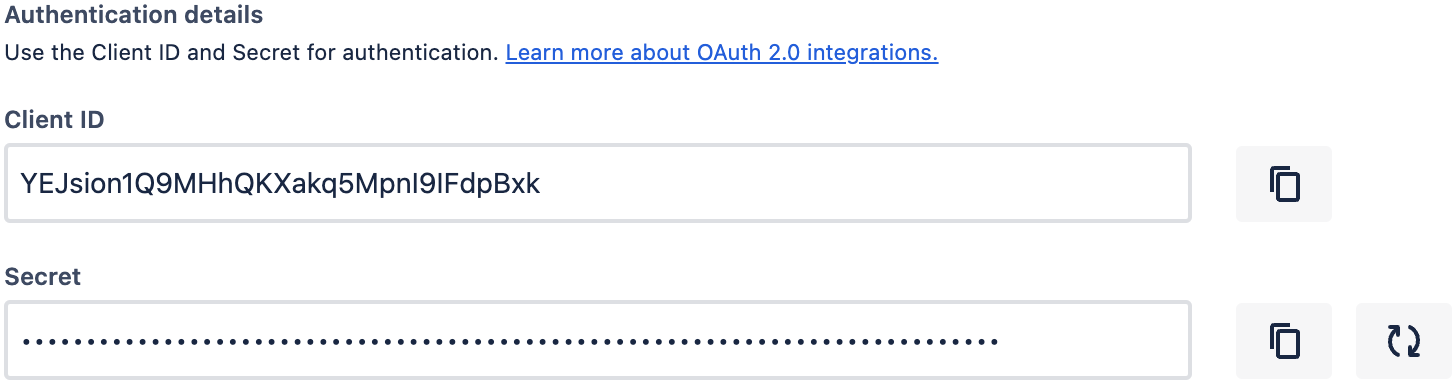
Configure AutoKitteh
There are two equivalent options to configure the AutoKitteh server to interact with your OAuth app - choose the one most suited for your needs and constraints.
For more details, see the Configuration Methods page.
config.yaml File
Stay tuned!
Environment Variables
Set this environment variable, based on the AutoKitteh server's address - either an HTTP tunnel's public address, or an internal address in a Virtual Private Cloud (VPC):
WEBHOOK_ADDRESS- Just the address, without the
http[s]://prefix, and without a path suffix
- Just the address, without the
Also set these environment variables, based on the values you were instructed to copy in the App Secrets section above:
JIRA_CLIENT_IDorCONFLUENCE_CLIENT_IDJIRA_CLIENT_SECRETorCONFLUENCE_CLIENT_ID
If your organization uses Atlassian Data Center, i.e. self-hosted servers,
not Atlassian Cloud
Set the environment variable ATLASSIAN_BASE_URL to the self-hosted server's URL
without a path, i.e. a string that looks like this: http[s]://host[:port].
Lastly, restart the AutoKitteh server for these settings to take effect.