Initialize a Discord connection
Background information: building your first Discord app (step 1).
Create a Discord App
-
Click here: create a new Discord application
-
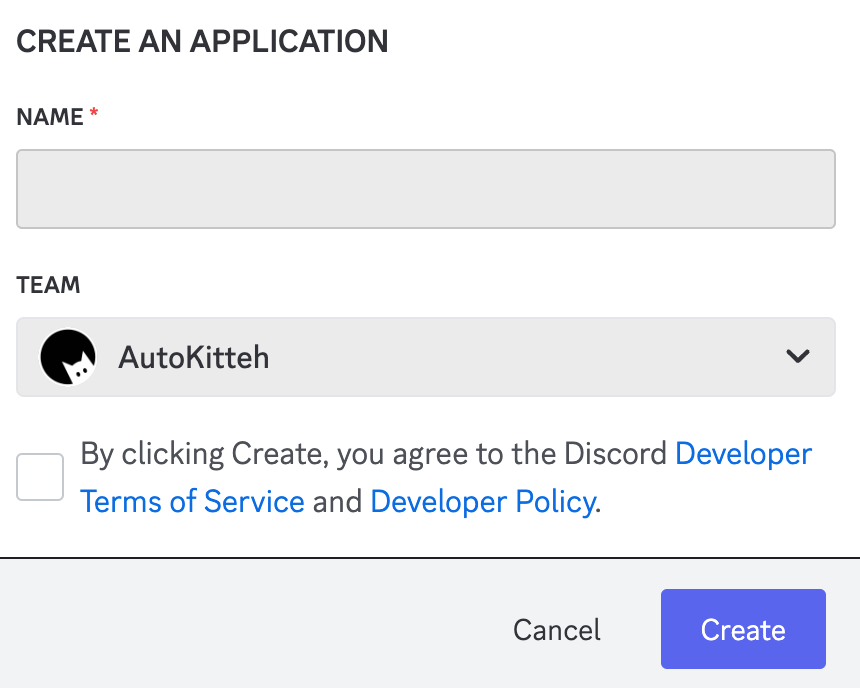
Provide a name for your application, then click "Create".
-
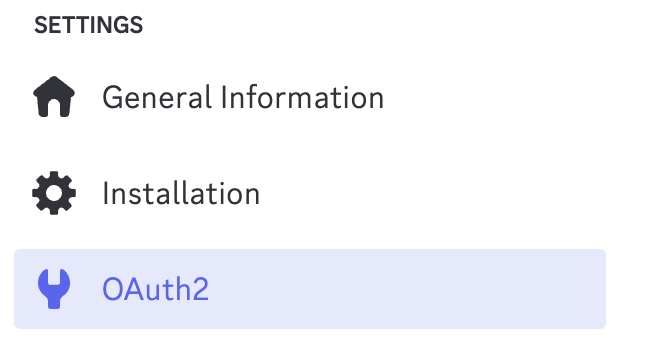
In the sidebar, navigate to the "OAuth2" menu.
-
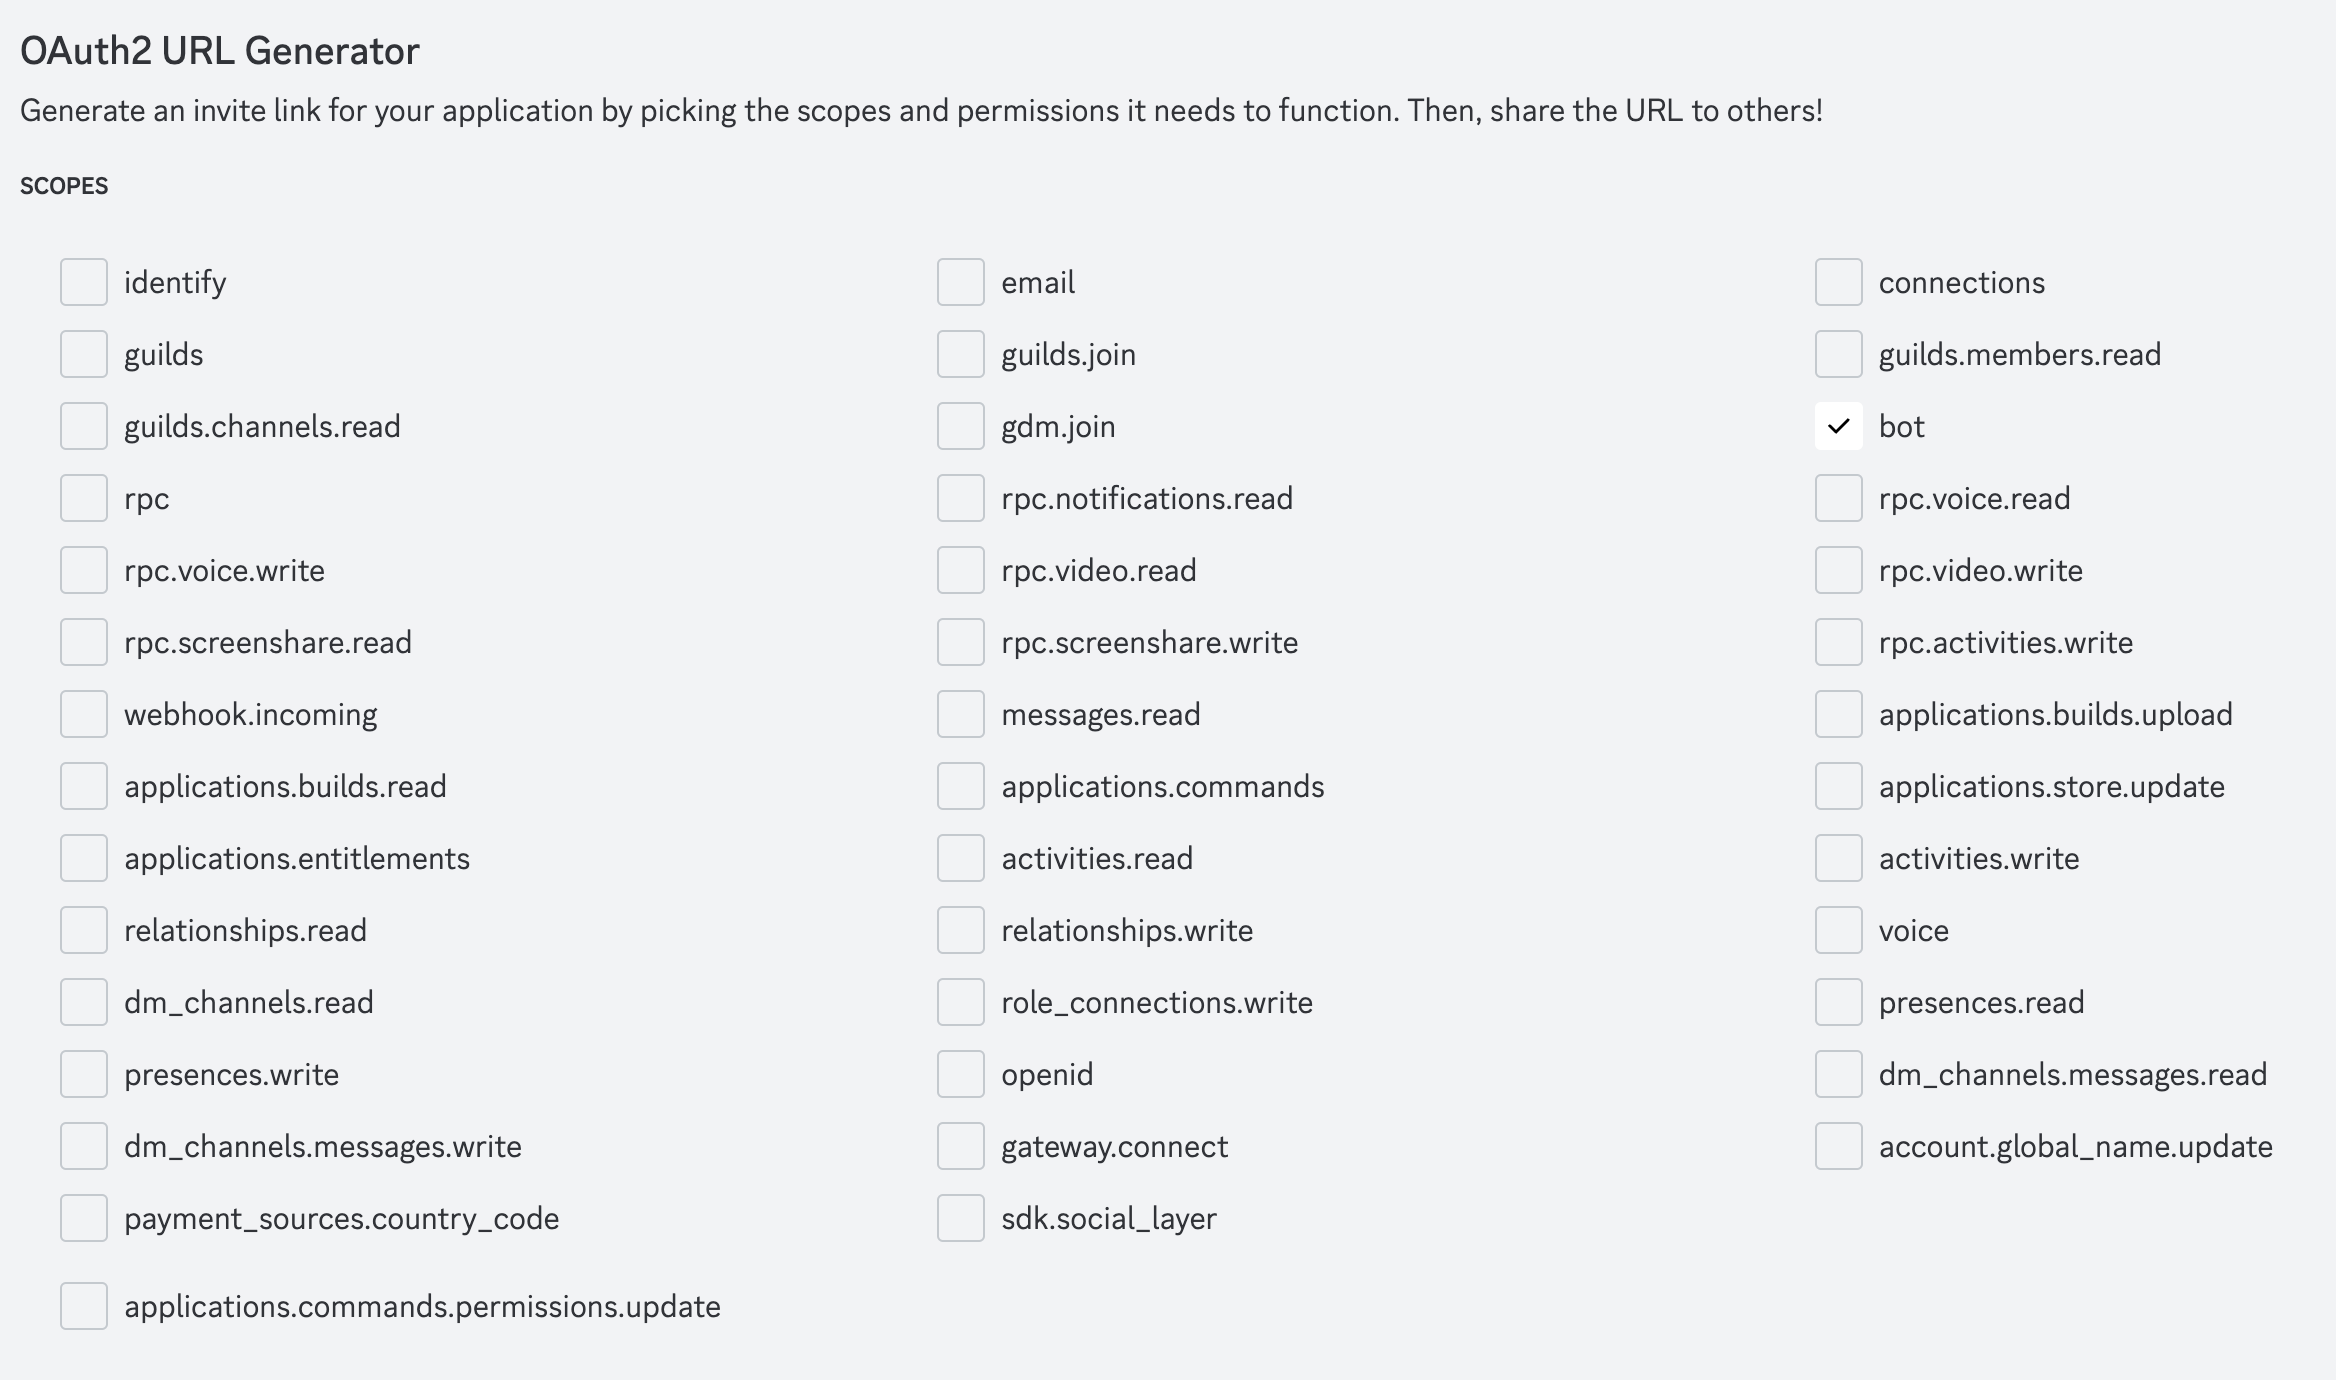
Under the section titled "OAuth2 URL Generator," find the "Scopes" area and check the box labeled "bot."
-
Under the "Bot Permissions" section, check the boxes for "View Channels" and "Send Messages."
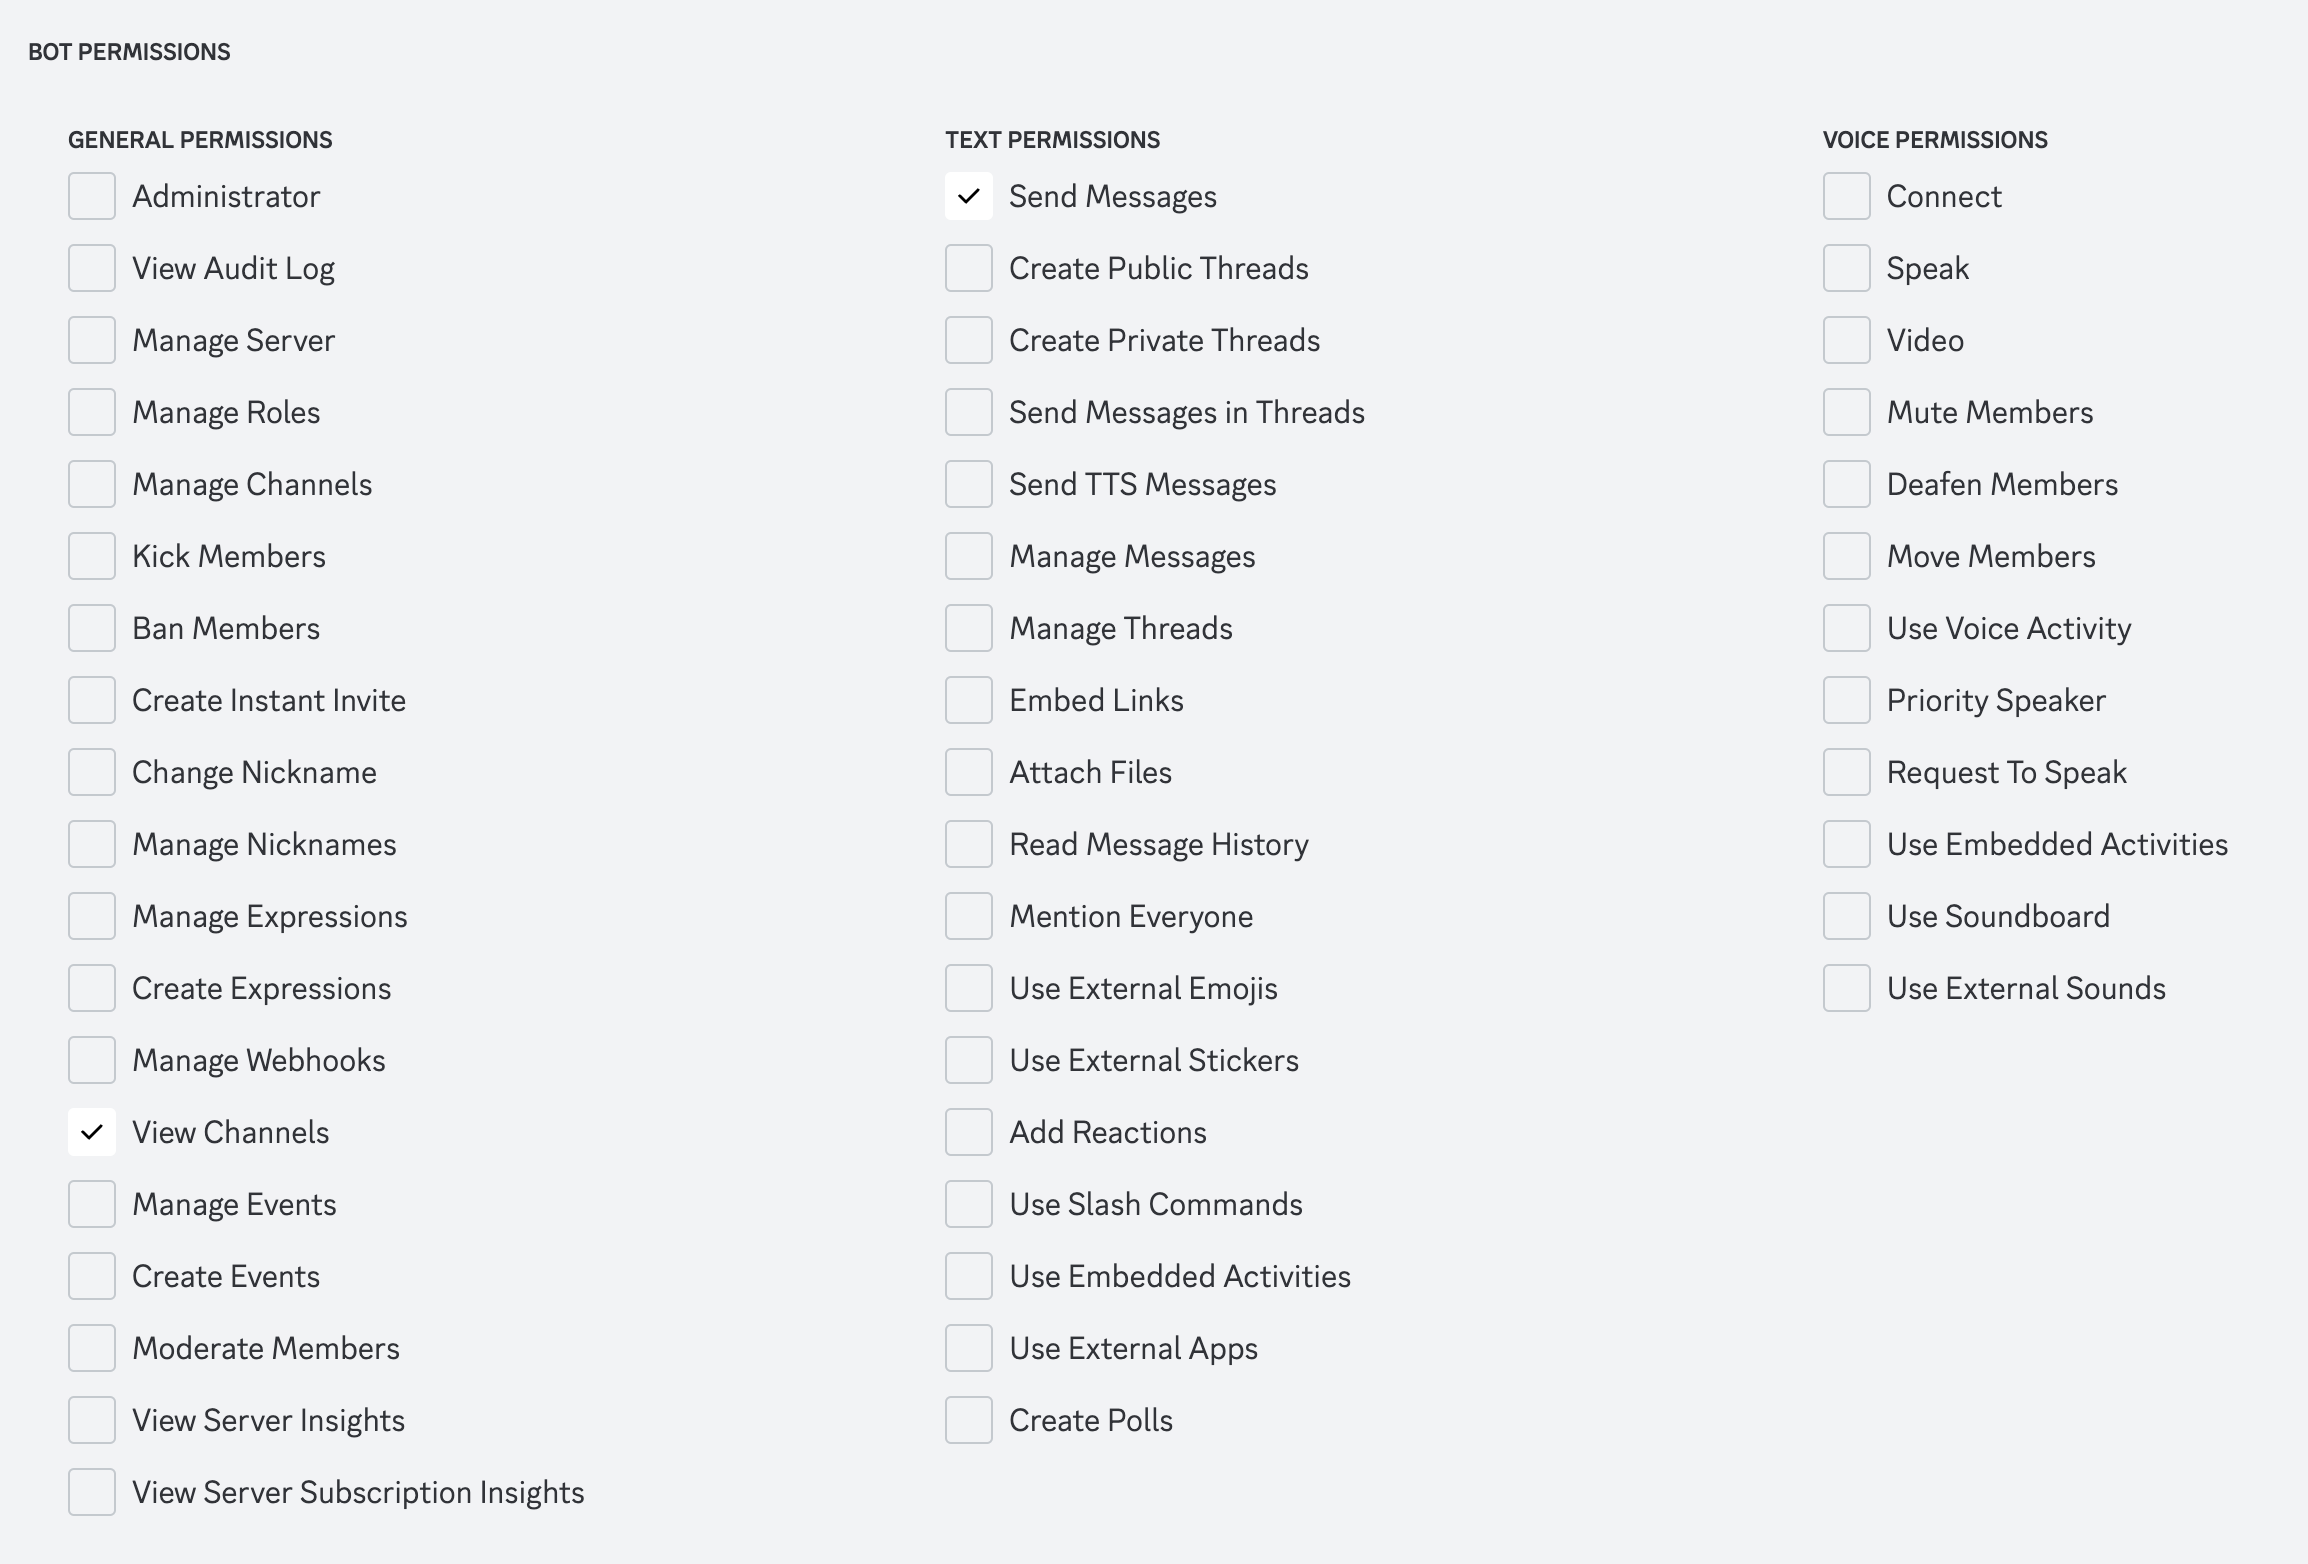
Currently, only bot tokens are supported for authentication. Scopes that require an OAuth redirect URL will not function.
-
For "Integration Type," select "Guild Install" (note: "User Install" requires OAuth). Next, click "Copy" to copy the install link.

-
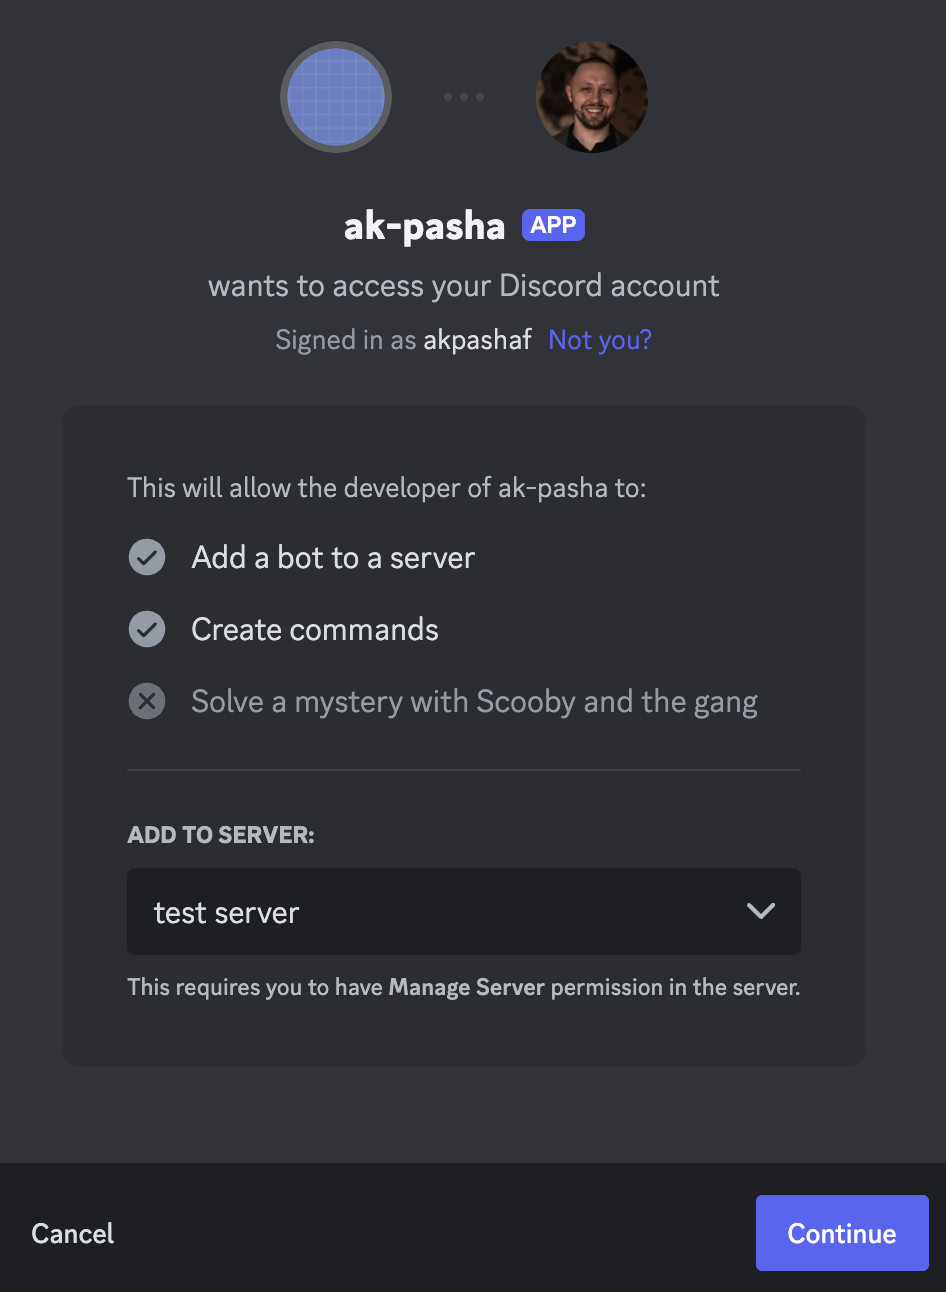
Paste the link copied from the previous step into your browser. Select the server where you want to add the bot, then click "Continue."
-
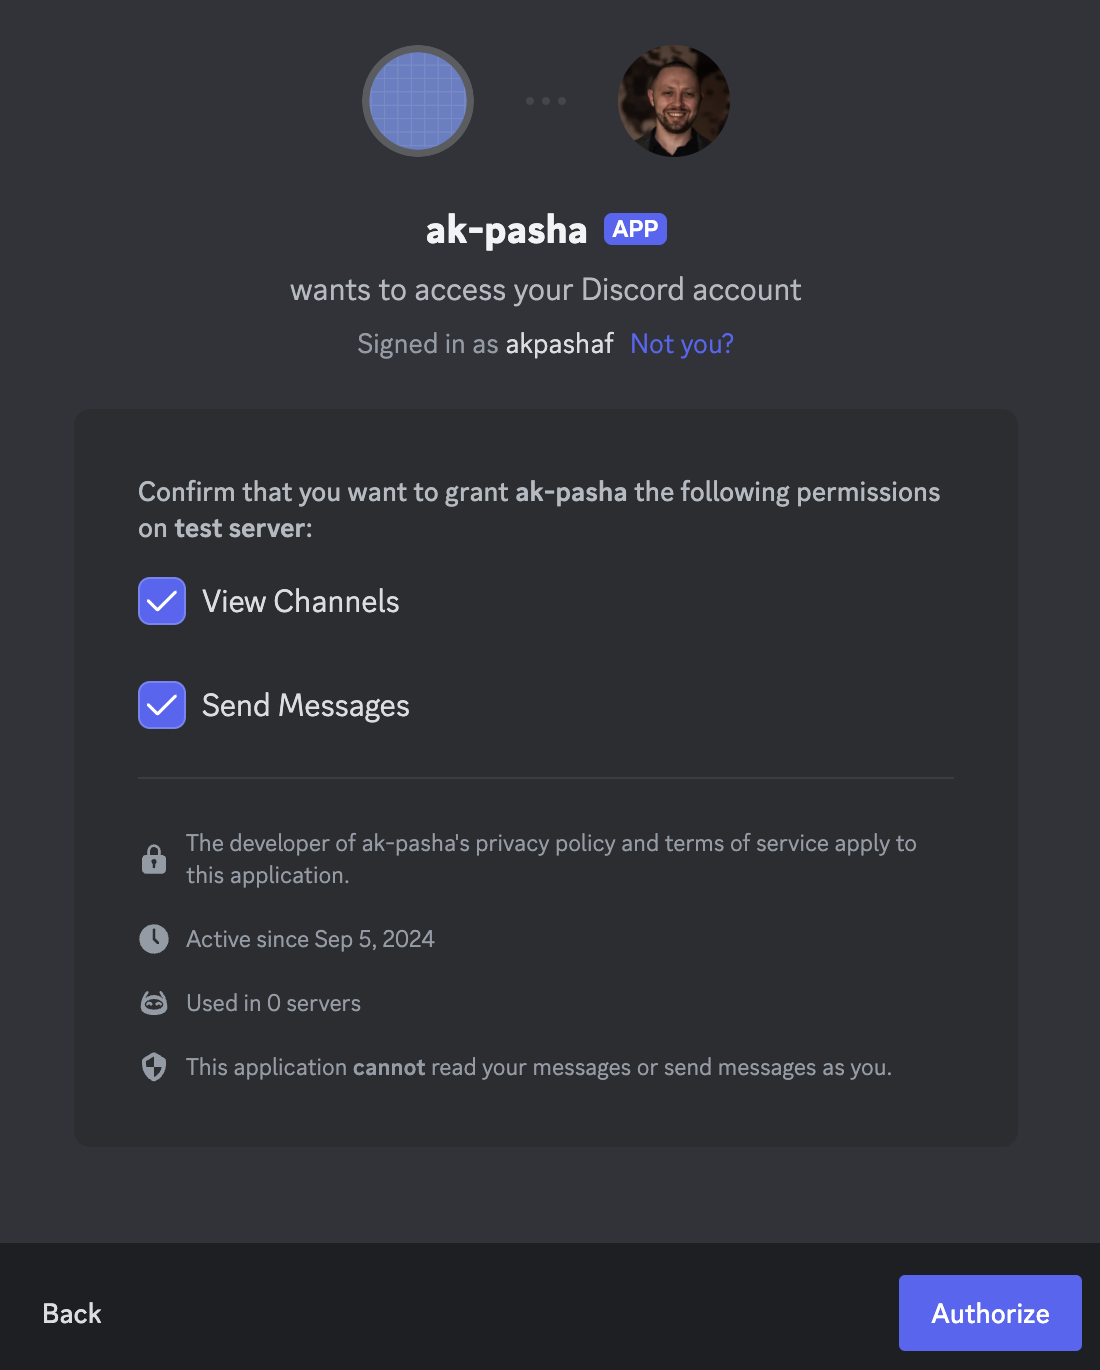
Authorize the selected scopes by clicking "Authorize".
-
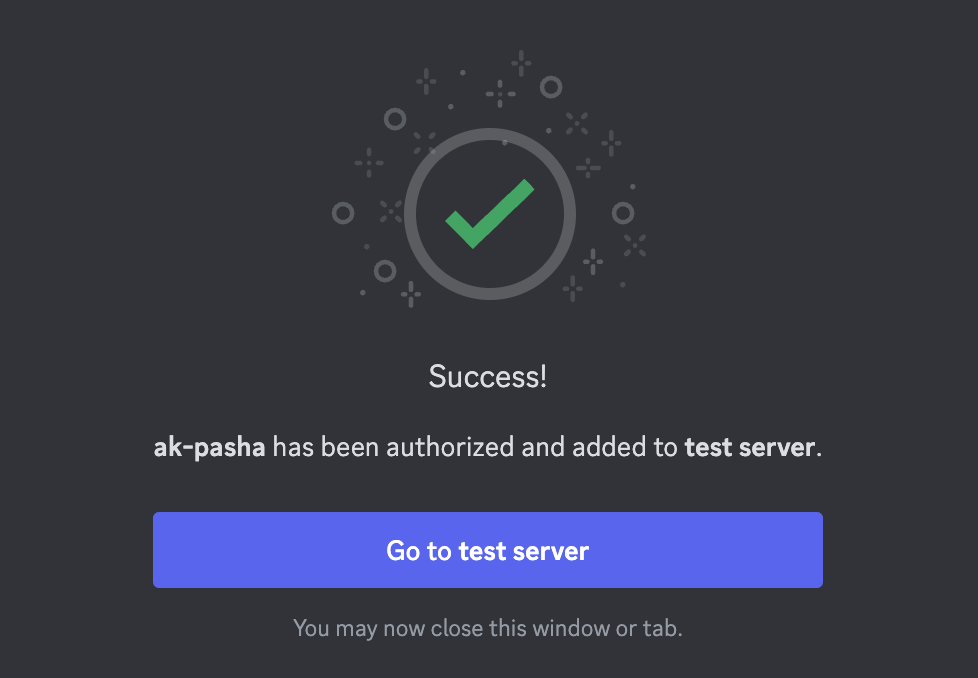
A success message will appear, confirming that the AutoKitteh bot has been installed on your server.
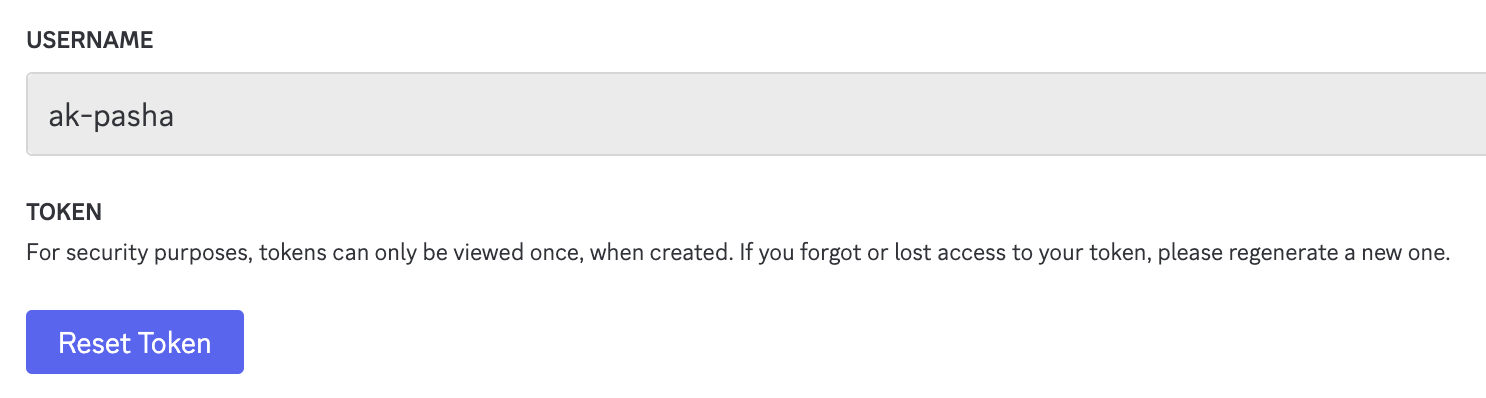
Bot Token
-
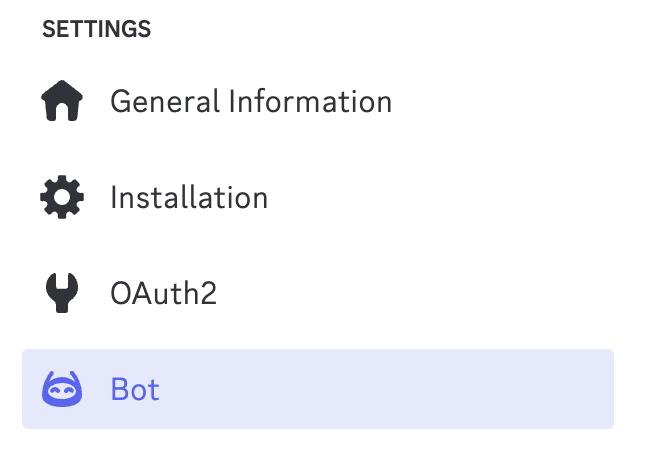
In the sidebar, navigate to the "Bot" menu.
-
Generate a new token by clicking "Reset Token".
-
Copy the token by clicking "Copy." Save it somewhere secure, as it will not be shown again.

-
After deploying your project, initialize the connection using the bot token generated in step 3.
-
Although enabling all of these intents isn't strictly required to receive events, it's recommended because it allows you to view event content, and some events may not function properly without them.
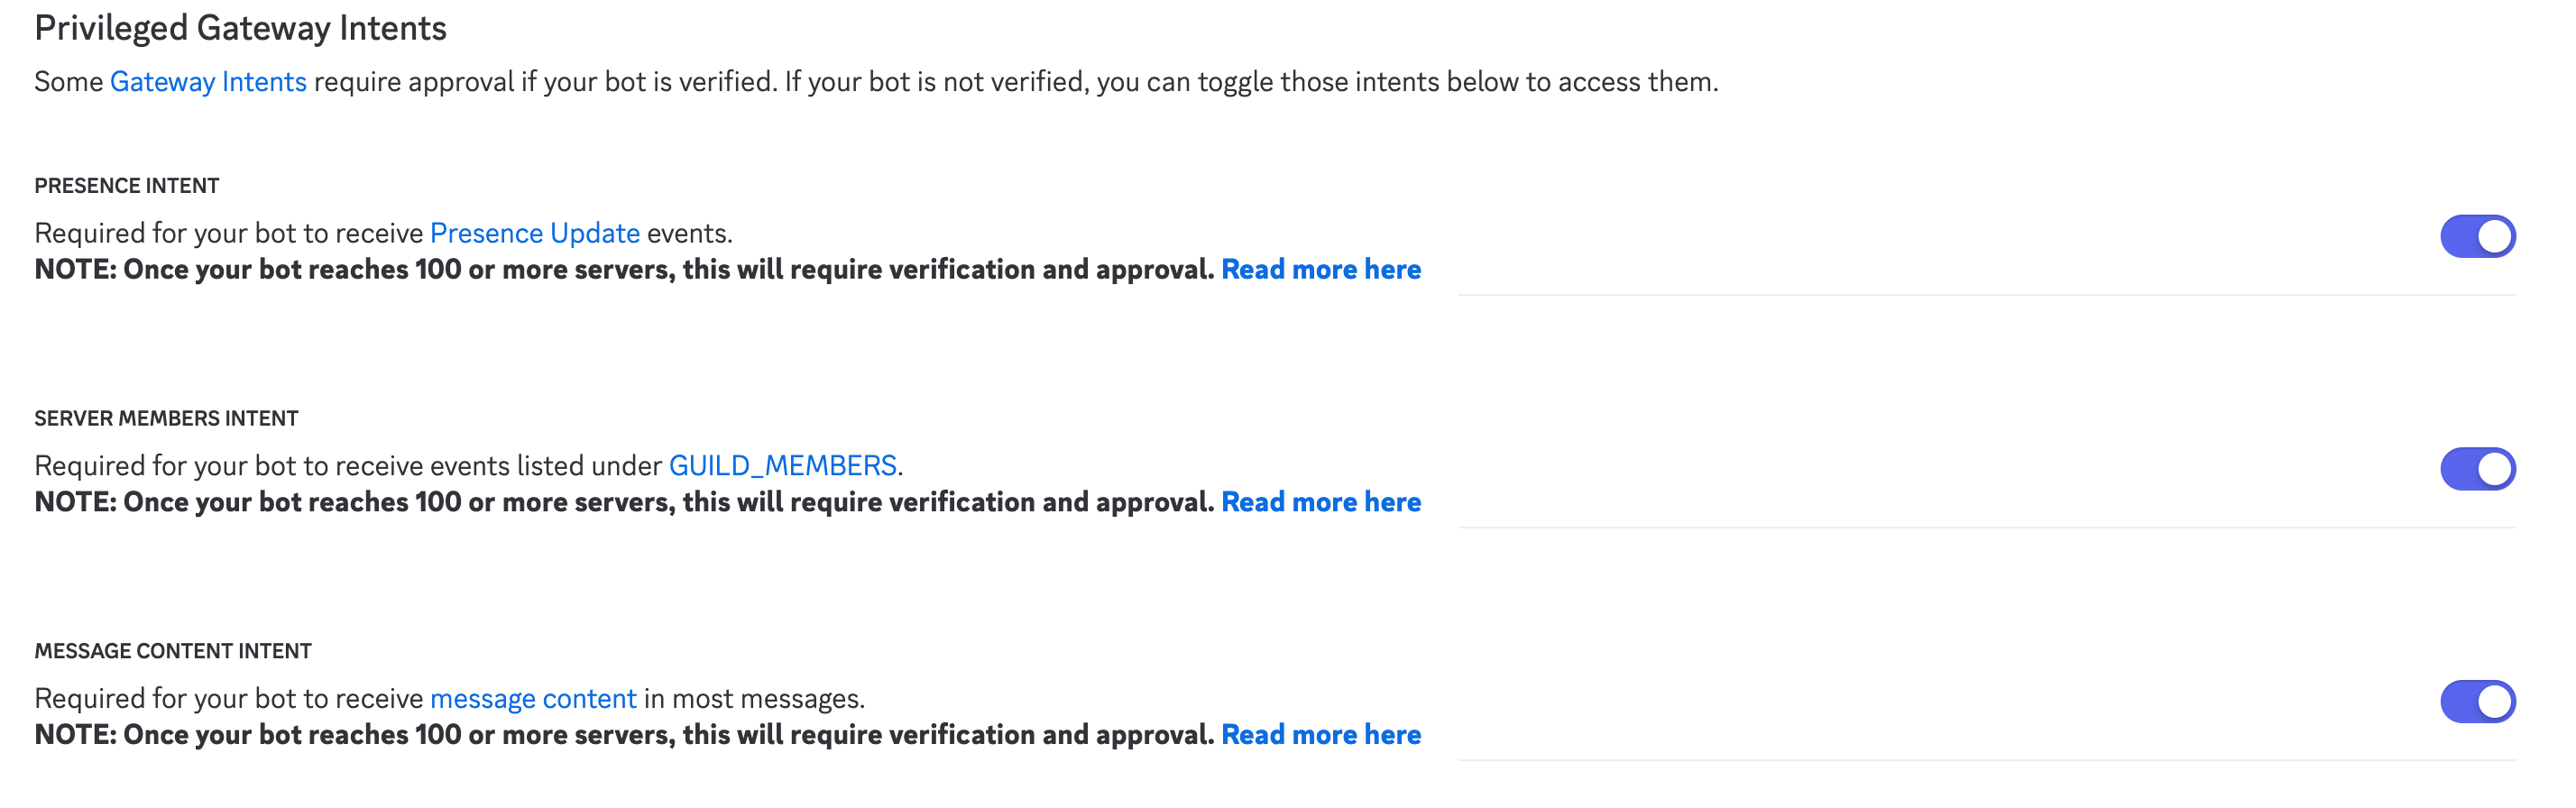
If the supported AutoKitteh events meet your needs, you're all set. However, client-side code may require additional permissions. For instance, in the client library quickstart, you'll find the following line of code:
intents = discord.Intents.default()
intents.message_content = True

client = discord.Client(intents=intents)
If you attempt to run the client with these settings without enabling message content intents in the Discord developer portal (as mentioned in the previous step), you will encounter the following error:
"discord.errors.PrivilegedIntentsRequired: Shard ID None is requesting privileged intents that have not been explicitly enabled in the developer portal. It is recommended to go to https://discord.com/developers/applications/ and explicitly enable the privileged intents within your application's page. If this is not possible, consider disabling the privileged intents instead."
This also applies to other intents and permissions.