Configuration
Follow this guide in order to enable AutoKitteh's Auth0 connections to use Auth0's OAuth 2.0
This guide assumes that the AutoKitteh server is already configured with HTTP tunneling.
Create an Auth0 app
-
Click here to open your Auth0 dashboard.
-
Click the "Create Application" button.

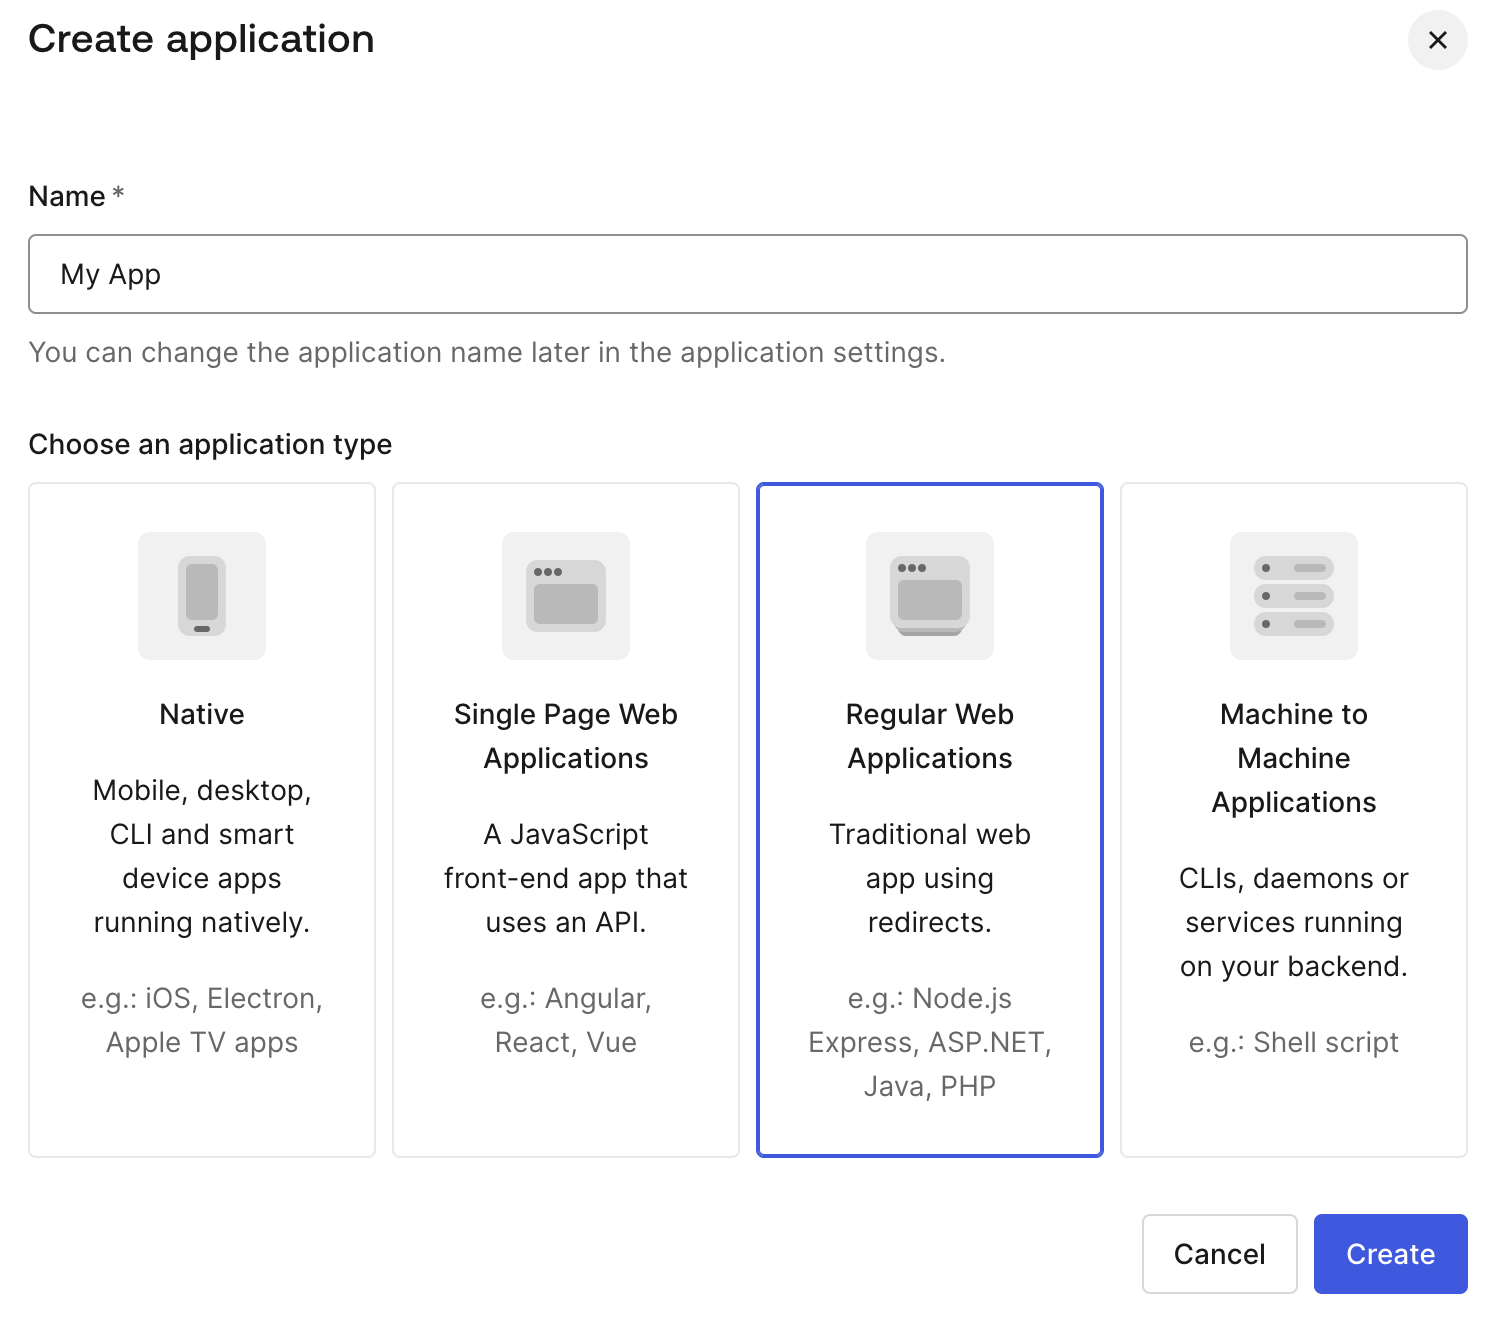
- Enter a name for the app, select "Regular Web Application" as the application type and click the "Create" button.
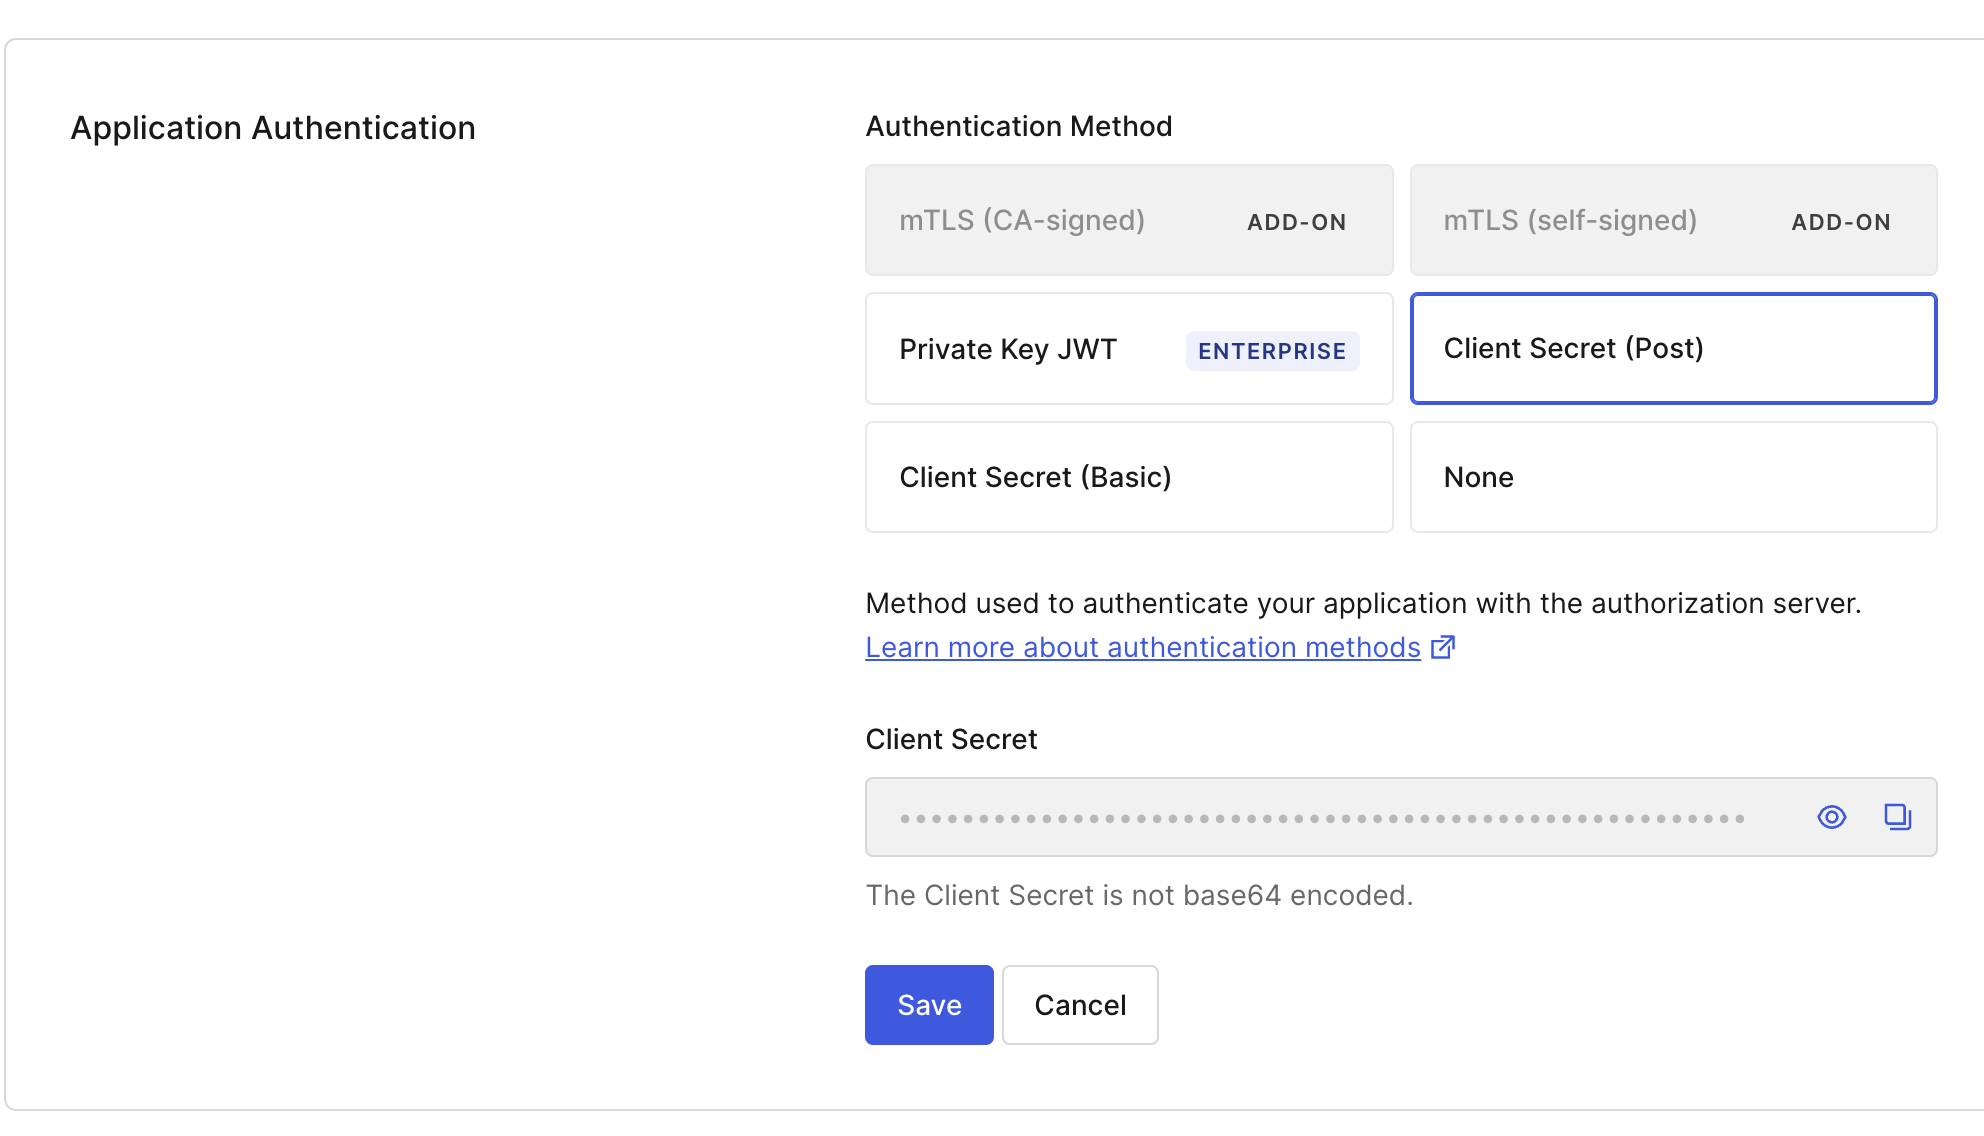
- Click the "Credentials" tab. For "Authentication Method", select "Client Secret (Post)". Click "Save".
-
Click the "Settings" tab.
-
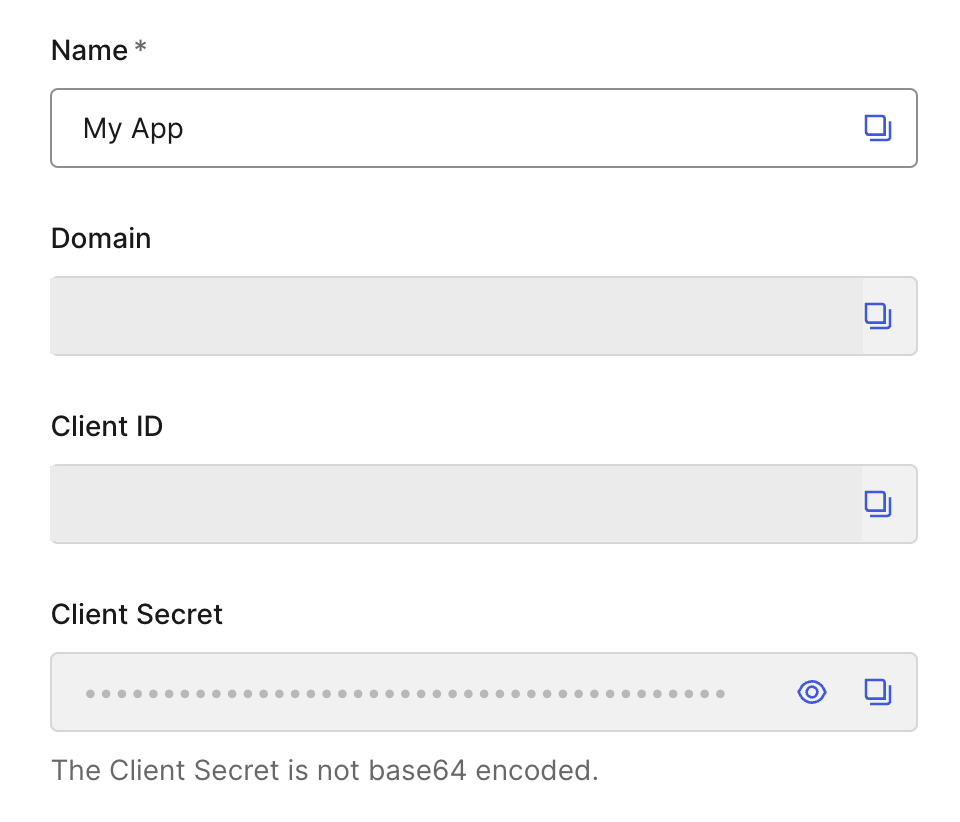
Take note of the "Client ID","Client Secret" and "Domain" values – you'll need them later to initialize the Auth0 connection.
-
Scroll down to the "Application URIs" section.
-
Add the following URIs to the "Allowed Callback URLs" field:
- (For cloud) https://api.autokitteh.cloud/oauth/redirect/auth0
- (For self-hosted) https://<example.ngrok.dev>/oauth/redirect/auth0
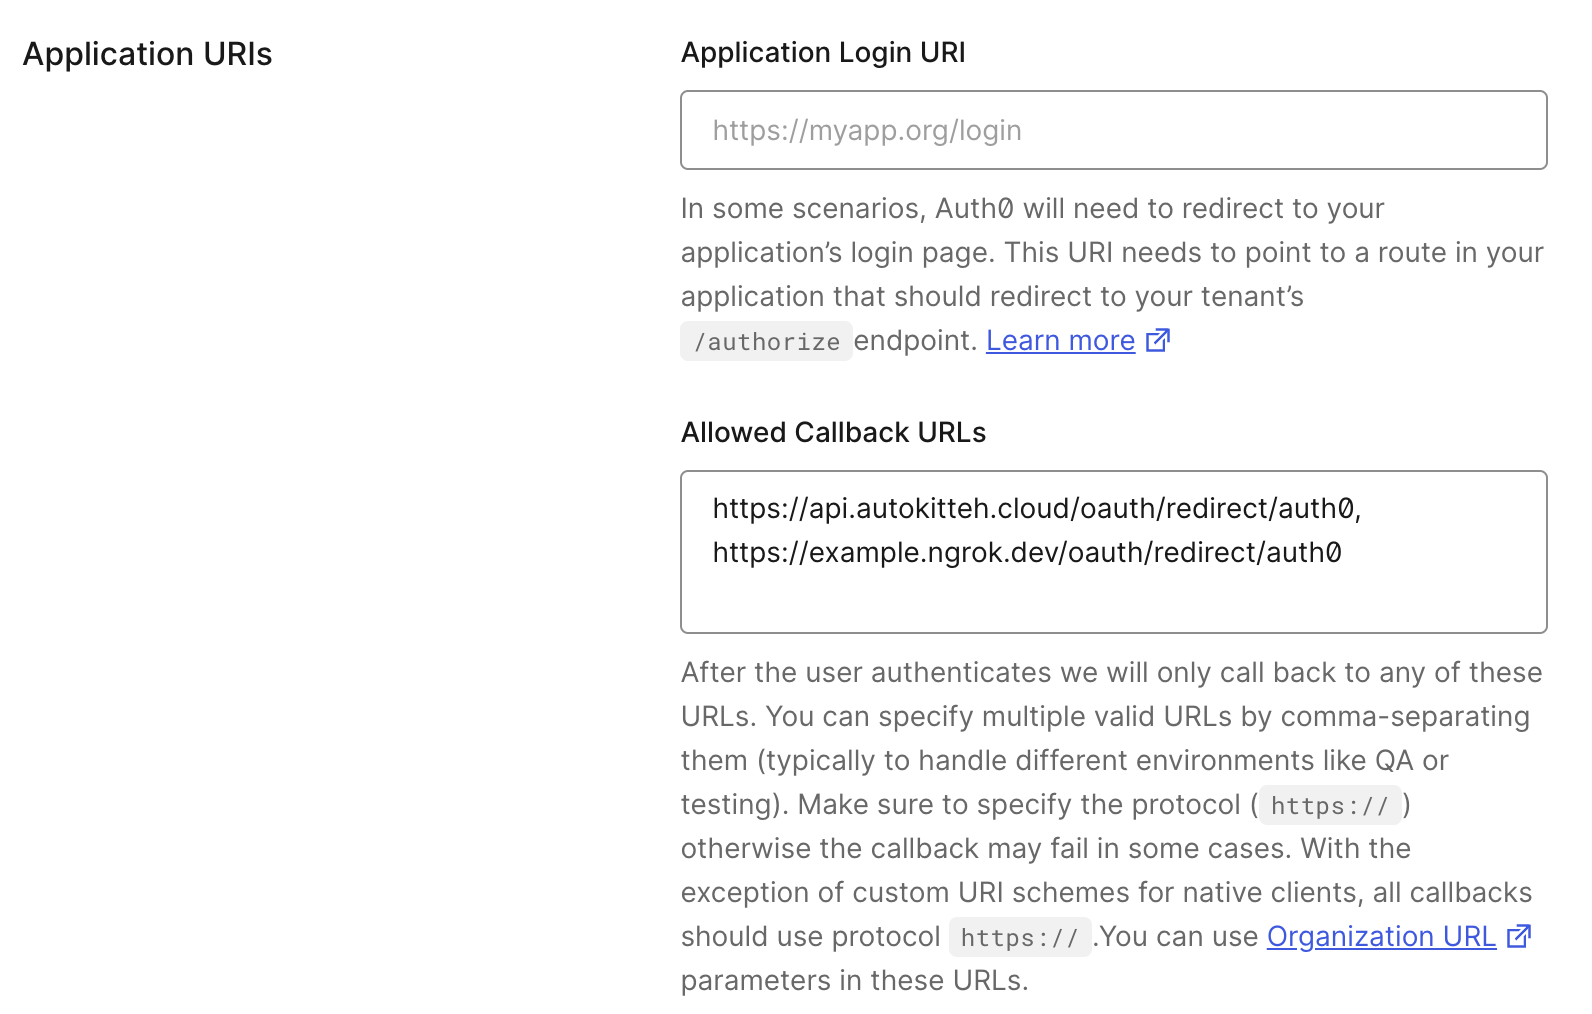
For information about obtaining the example.ngrok.dev URL, see HTTP tunneling.
- Scroll down to the "ID Token Expiration" section. Set the "Maximum ID Token Lifetime" to 2592000 seconds (30 days).
This is a temporary workaround to prevent the ID token from expiring too quickly. We're actively working on a more permanent fix.

-
Scroll down to the "Advanced Settings" section. Expand the section.
-
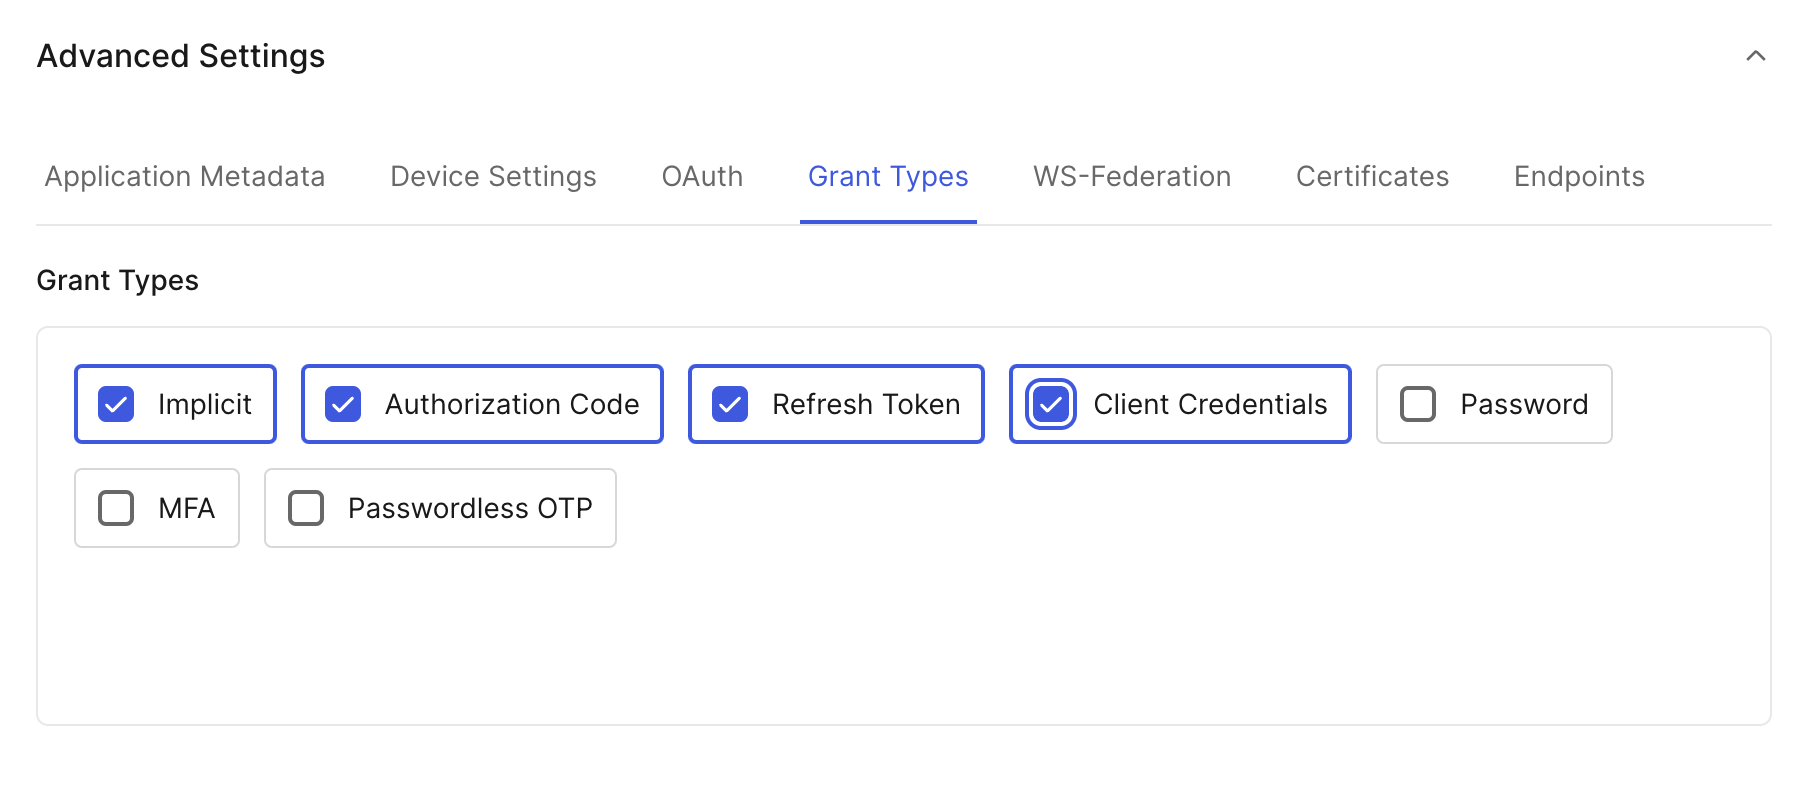
Click the "Grant Types" tab. Add the "Client Credentials" grant type.
-
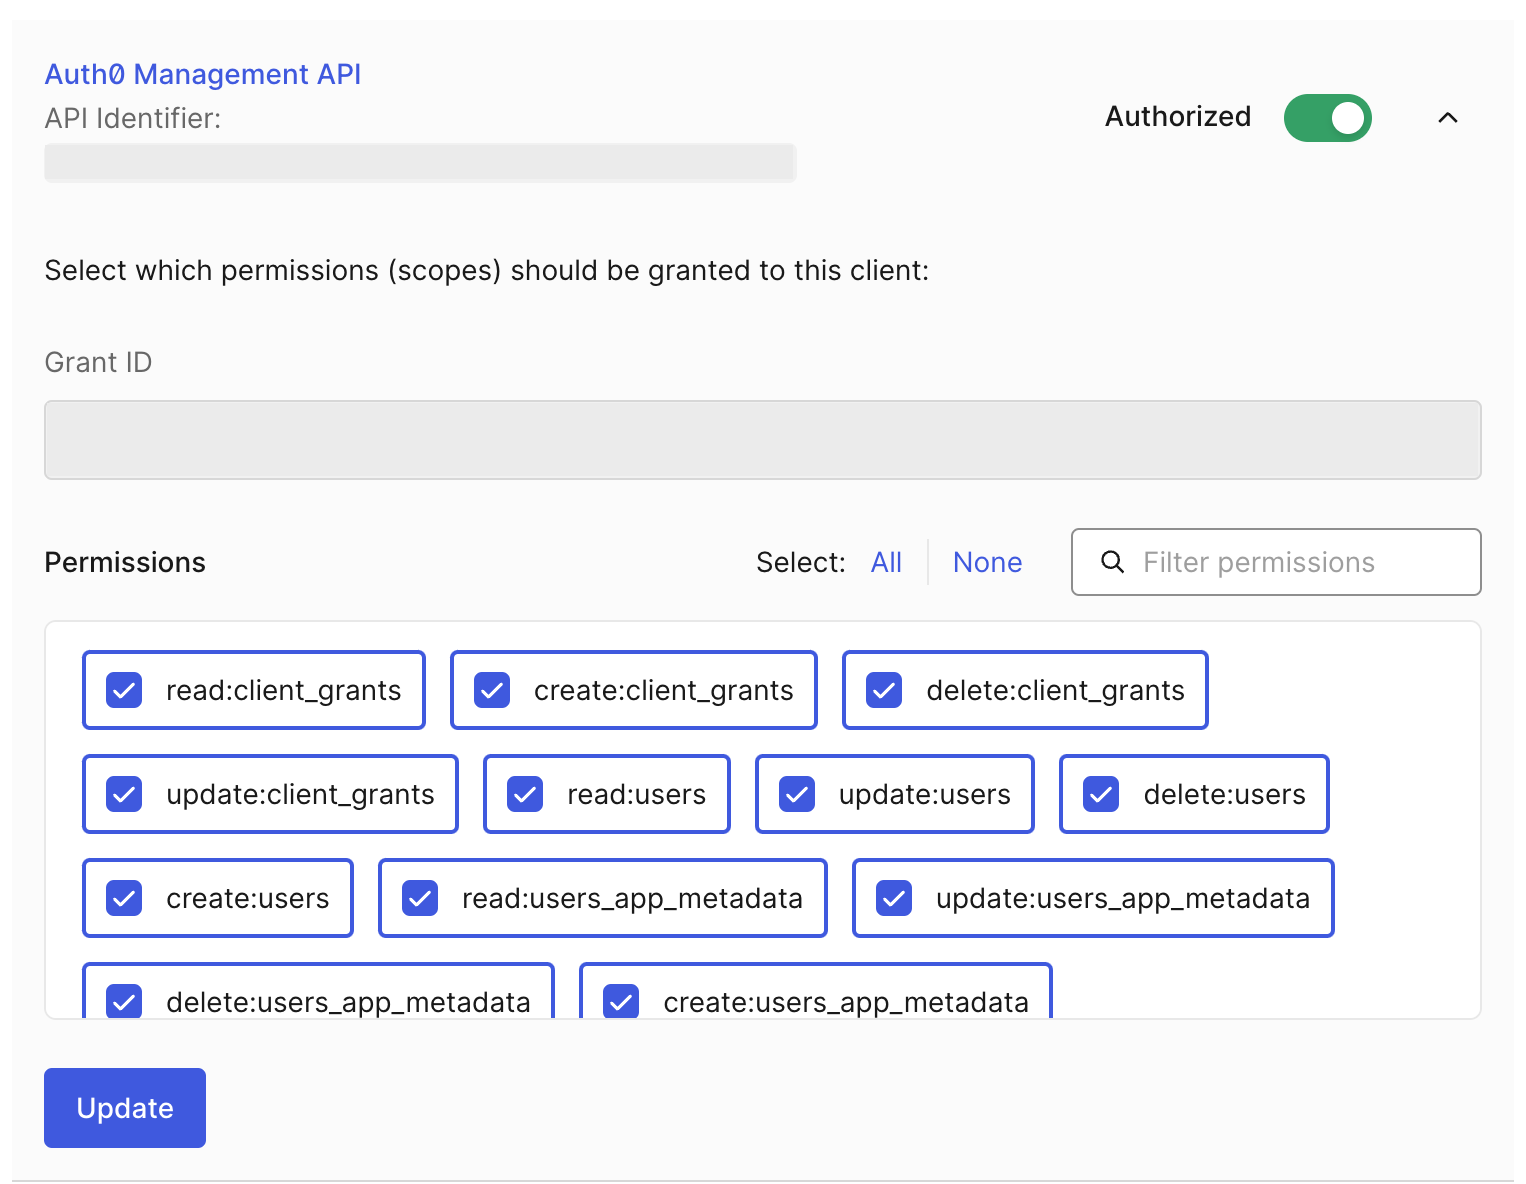
Click the "APIs" tab. Authorize the app to use the "Auth0 Management API".

-
Expand the "Auth0 Management API" section. Select necessary permissions for your use case.
-
Click the "Update" button.